Getting started
This is a step-by-step guide on how to create a new Zendro project from scratch, aimed at software developers and system administrators.
Table of contents
- Project Requirements:
- Recommendations:
- Step by step guide
- Step 1: Installation
- Step 2: Setup a new Zendro project
- Step 3: Edit environment variables
- Step 4: Define your data models
- Step 5: Generate code and migrations
- Step 6 (optional): Define your database connection
- Step 7: Start up Zendro
- Step 8: Start up Zendro with access control
- Step 9: Stop Zendro instance
- Customize your project (optional)
- Add empty or default plots (optional)
- Updating Zendro
- Uninstallation
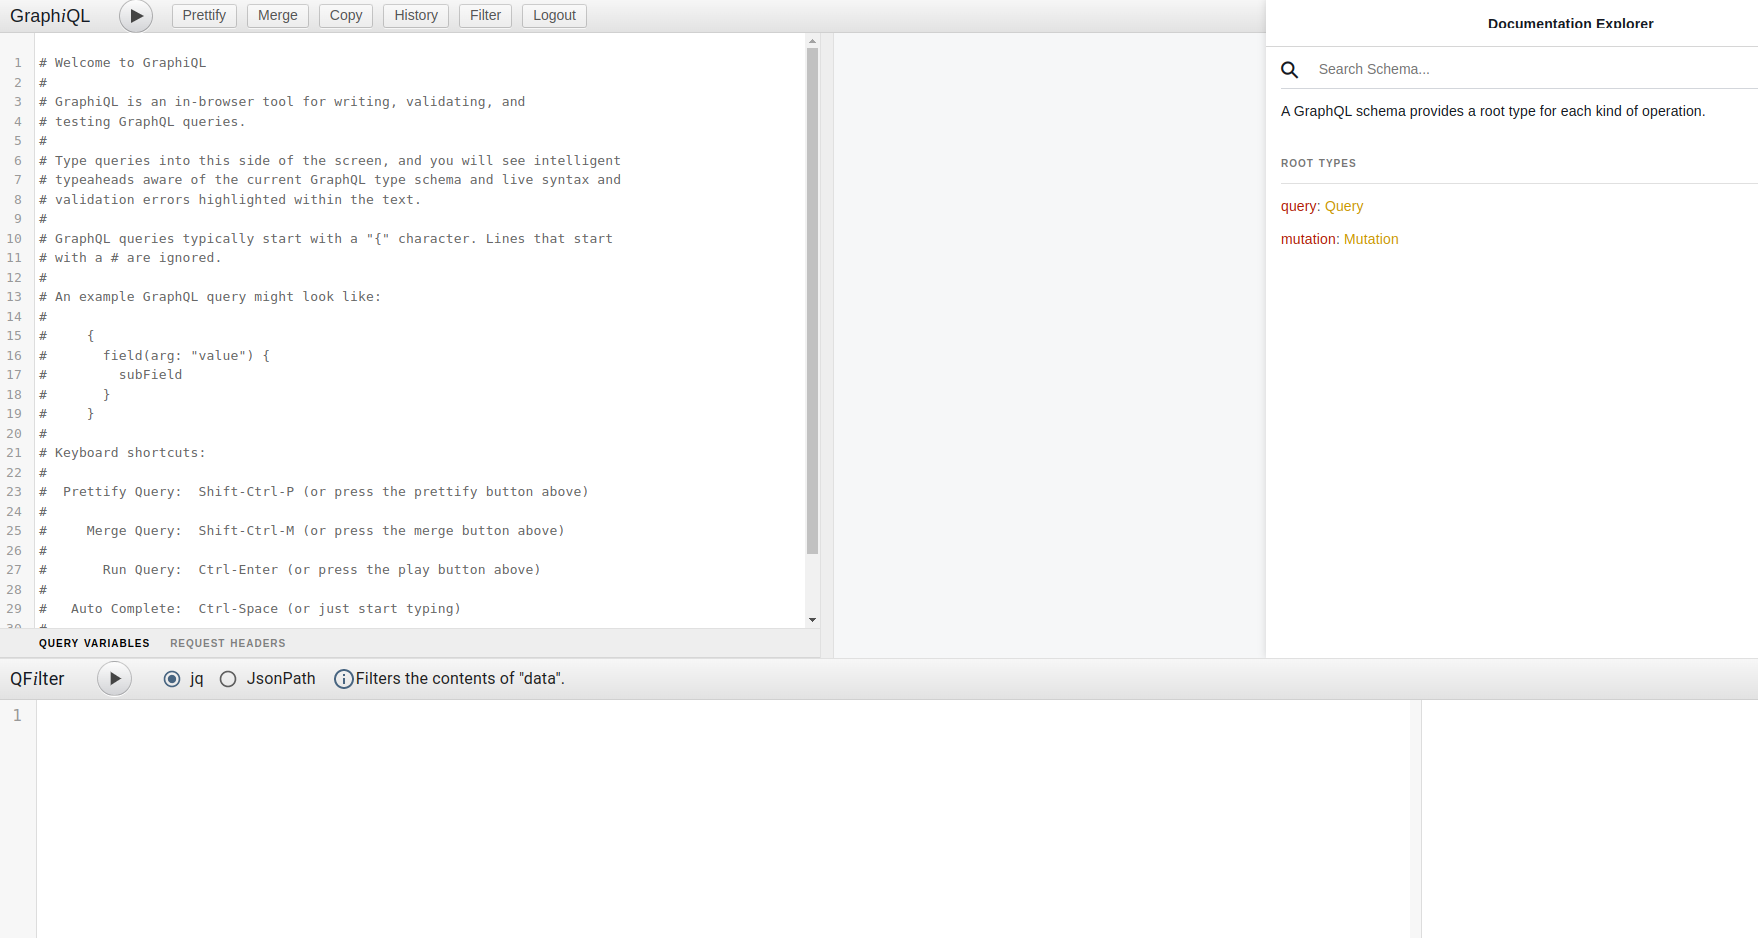
Zendro consists of four source-code projects: graphql-server-model-codegen, graphql-server, single-page-app and graphiql-auth. The first pair is responsible for the back-end GraphQL service that can be accessed on the default url http://localhost:3000/graphql. To pull up the corresponding server it is required to generate some code first. The third project acts as a client of the GraphQL server and creates a simple generic web-based GUI for this server on the url http://localhost:8080. The last project offers a Zendro specific implementation of the browser based GraphQL IDE Graphiql. The project is a simple Next.js application. Custom adjustments have been made to accommodate Zendro requirements for authentication of users and enhanced meta searches using jq or JSONPath statements.
Project Requirements:
- NodeJS version 18+ is required.
recommended for setting up zendro using docker
- docker
- docker compose plugin if not already included in docker installation
We strongly recommend to follow this guide to use docker without sudo.
Recommendations:
- We strongly recommend you to use Zendro in Linux with or without docker.
- If you prefer to use Zendro in Windows, we recommend you to use it with Windows Subsystem for Linux (WSL).
- If you prefer to use Zendro in Mac, we recommend you to use it without docker.
Step by step guide
Step 1: Installation
Execute this commands to install Zendro:
$ git clone https://github.com/Zendro-dev/zendro.git
$ cd zendro
$ npm install
$ sudo npm link
In Windows Subsystem for Linux the sudo npm may not work, try sudo -env "PATH=$PATH" npm then. Also when using the docker related command zendro dockerize the sudo -env "PATH=$PATH" may be necessary, as docker requires to be run with higher permissions.
Step 2: Setup a new Zendro project
The easiest way to set up Zendro is using the Zendro CLI tool. With minimal steps and configuration a Zendro warehouse taylored to your data needs can be deployed.
Go out from the previusly created zendro directory
$ cd ..
- if you prefer to use docker, execute:
# "-d" adds Dockerfiles to fully dockerize running zendro
$ zendro new -d <my-project-name>
- if you prefer to use Zendro without docker, execute:
$ zendro new <my-project-name>
Step 3: Edit environment variables
Go inside the new project and modify the selected enviroment variables in the following files. These files have a default configuration, please remember to add your expected secret word in the NEXTAUTH_SECRET variable. An easy way to do so in Linux is by using the following command, replace <secret> accordingly:
$ sed -i 's/^\(NEXTAUTH_SECRET\)=..$/\1="<secret>"/' graphiql-auth/.env.* single-page-app/.env.*
With or without docker:
Remember that dotfiles are usually treated as hidden files, so make sure you can view hidden files.
- SPA in development mode: ./single-page-app/.env.development
- SPA in production mode: ./single-page-app/.env.production
- GraphiQL in development mode: ./graphiql-auth/.env.development
- GraphiQL in production mode: ./graphiql-auth/.env.production
If you would like to upload a file to a remote server, please consider the template .env.migration.sample, create a new file .env.migration and modify relevant environment variables.
If you wish to know more about enviroment variables you can check this.
Note: The data_models_storage_config.json file defines the connections to the databases that zendro should be aware of. Currently we have integrated sequelize, neo4j, cassandra, amazon s3, mongodb. For other storage types, user needs to implement the connection part and add a new storage type, or use generic models. If user wants to use other supported storage types, then user can reuse part of two example files, which illustrate the configuration of all supported storage types with docker setup, namely ./config/data_models_storage_config_example.json and ./docker-compose-dev-example.yml.
Step 4: Define your data models
Add your model definitions in JSON files to ./data_model_definitions folder.
If you want to learn more about how to define data models with Zendro, please check this.
Note: by default, indices would be generated for internalId. And it is recommended to add indices for attributes which are foreign keys. See the json specs for more information.
You should also configure the storage types you used, like credentials or port of a database.
- Without docker setup: If you wish to use the default database, please replace the content of the file
./graphql-server/config/data_models_storage_config.jsonfor:{ "default-sql": { "storageType": "sql", "dialect": "sqlite", "storage": "data.db" } } - With docker setup: ./config/data_models_storage_config.json
Step 5: Generate code and migrations
After setting up your data models use the next command to generate the model-specific code and fill your Zendro skeleton project with life.
Inside the new project execute:
$ zendro generate -m
This will automatically generate all basic create, read, update and delete (CRUD) operations for each data model specified in the scheme from the previous step.
Also, this will create migration files. By default, every migration file has two functions, namely up and down. The up function creates a table, the down function deletes the existing table. Additionally, up and down functions would add and drop indices for primary keys. Furthermore it is possible to customize the migration functions. Please check this to learn more about migrations.
Step 6 (optional): Define your database connection
In case you want to connect Zendro to an already existing database, maybe already populated with data, there is no need for Zendro to run any migrations to create the necessary infrastructure. Leave out the -m flag in the above zendro generate command.
To define the connection to your local database edit the config/data_models_storage_config.json configuration file. You can reference a name given to a connection in your data-model-definition via the database attribute. See the json specs of data-model-definitions for more information.
In this file you can define any number of database connections, that zendro should be aware of. Depending on the driver used a set of attributes is expected. Details can be found in the default storage configuration for each storage type.
Step 7: Start up Zendro
➡ USING DOCKER
The recommend way to run your Zendro instance is via docker. This ensures that regardless of your local infrastructure Zendro will behave the same.
Execute this command to start Zendro in production mode or without -p to start in development mode.
$ zendro dockerize -u -p
This command will create docker containers for each Zendro component:
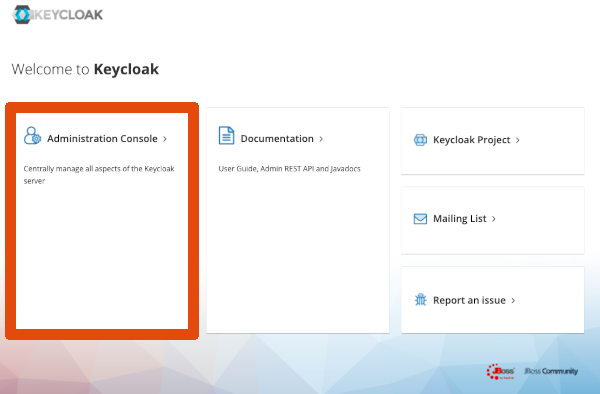
- Keycloak: manage users and roles
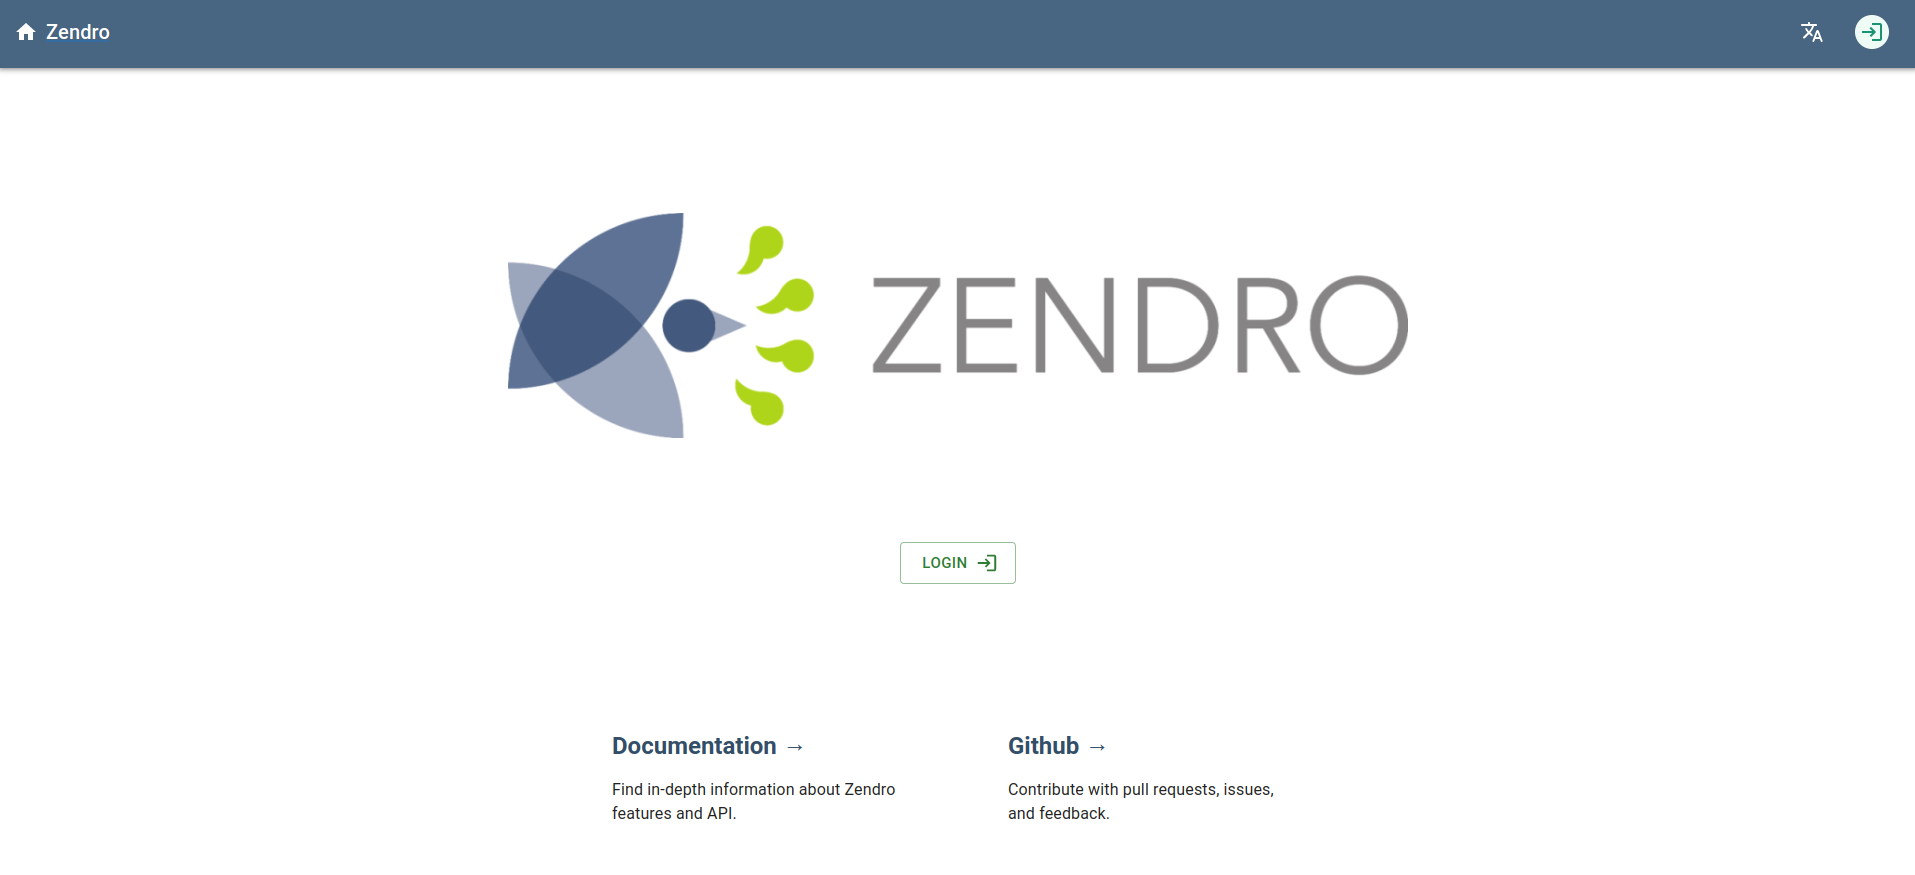
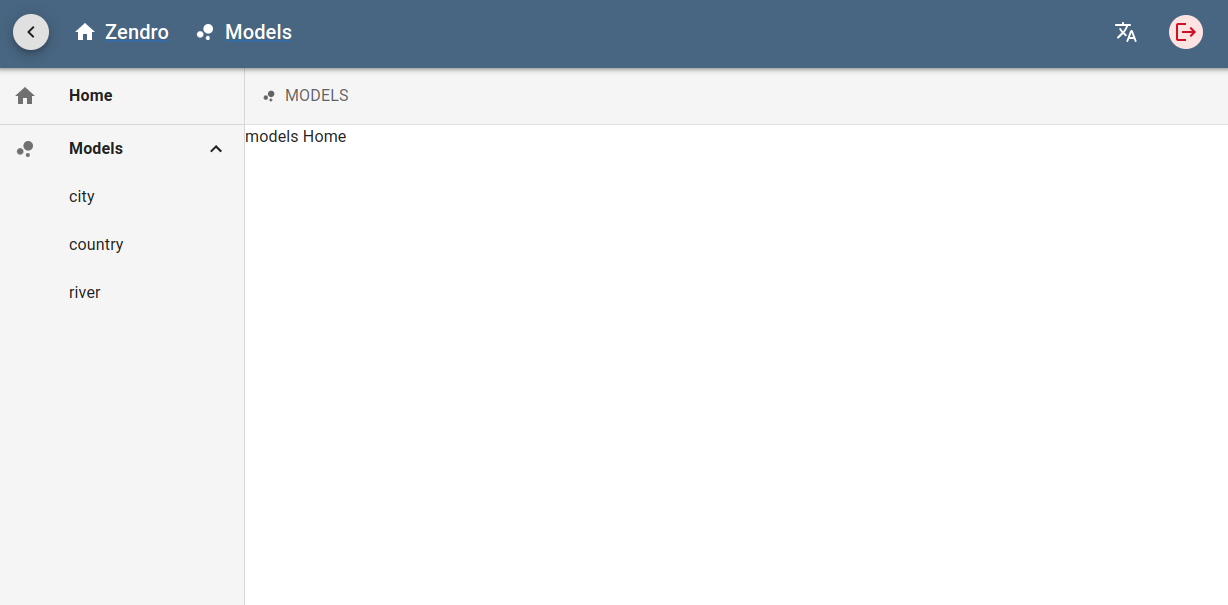
- Single Page App (SPA): graphical interface to send CRUD requests to a Zendro GraphQL endpoint
- API: CRUD API that can be accessed through a GraphQL query language
- GraphiQL interface: An implementation of the GraphQL IDE with Zendro login and advanced filter functionalities.
- traefik reverse-proxy: A reverse-proxy using traefik that maps the above docker services.
You can check docker containers by:
$ docker ps
You can check docker logs by:
$ docker logs -f <container name>
Please wait until logs indicate the app is running on XXXX port to access Zendro services.
In default config, the running containers will be:
- Keycloak:
-
http://localhost:8081/auth
- The default keycloak username is admin and the password is admin.

-
- SPA:
-
http://localhost:8080
- The default zendro username is zendro-admin and the password is admin.
-
- GraphQL API:
- http://localhost:3000/graphql
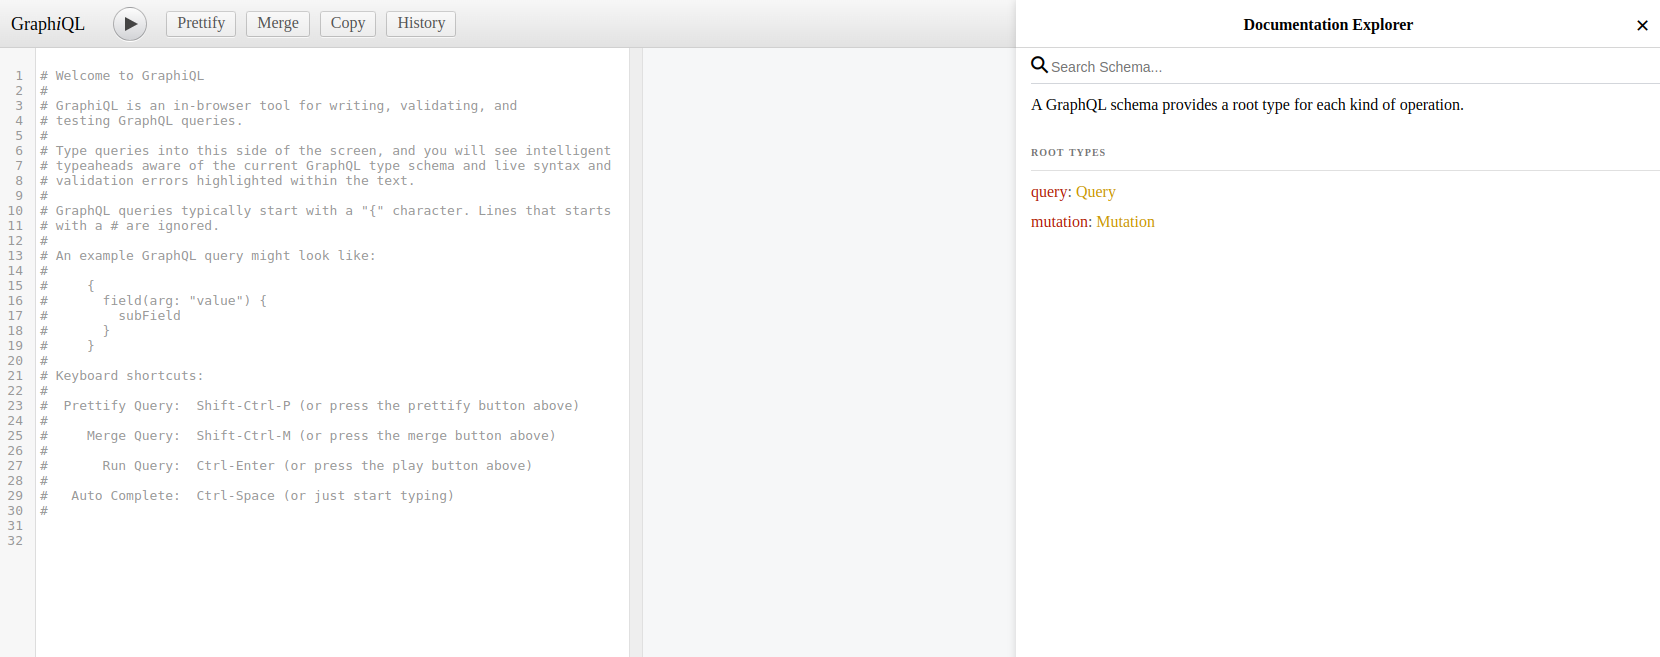
- GraphiQL interface with filter functionality:
-
http://localhost:7070
- The default zendro username is zendro-admin and the password is admin.
-
If you wish to modify the default ports, adjust the enviroment variables in the next files:
Hint: Stop Zendro Instance, modify files and start Zendro Instance again.
Remember that dotfiles are usually treated as hidden files, so make sure you can view hidden files.
- ./docker-compose-prod.yml
- ./docker-compose-dev.yml
- ./single-page-app/.env.production
- ./single-page-app/.env.development
- ./graphql-server/.env
- ./graphiql-auth/.env.development
- ./graphiql-auth/.env.production
Also, if you wish to modify docker containers name or docker services names, adjust the following files:
Hint: Stop Zendro Instance, modify files and start Zendro Instance again.
- ./docker-compose-prod.yml
- ./docker-compose-dev.yml
If you are having problems starting zendro in development mode due to “mandatory OAuth2 variables are not being set” error in SPA or GraphiQL, please run zendro dockerize -d -v to stop the services and then zendro dockerize -u to start services again. This happens because graphql-server should write the OAuth2 variables in .env files before SPA and GraphiQL load, but SPA and GraphiQL are loading faster than graphql-server.
➡ WITHOUT DOCKER
If you prefer to use local setup with Keycloak, there are a few things to do after running Zendro:
Requirements
- Install Java (from Java 11 forward).
- Install Keycloak. Zendro works with Keycloak 26.2.0. It is highly recommended to try the latest version and use 26.2.0 in case of breaking changes.
- Go to https://www.keycloak.org/downloads and download Distribution powered by Quarkus.
- After unzip, copy the keycloak configuration file from
zendro/test/env/keycloak.conftokeycloak/conf/keycloak.conf. - Two enviroment variables should be configured through command line. In terminal inside keycloak folder execute:
$ export KC_BOOTSTRAP_ADMIN_USERNAME=admin
$ export KC_BOOTSTRAP_ADMIN_PASSWORD=admin
Important: If you are working on Windows and the command
exportis not working, ignore this step. Keycloak is going to ask you for the admin credentials when it starts in the web interface. - Start keycloak in dev mode executing
$ ./bin/kc.sh start-devin keycloak folder. -
Go to http://localhost:8081 to see keycloak running. The keycloak username is admin and the password is admin.
Important: If you are working on Windows and the command
exportis not working, Keycloak is going to ask you for the admin credentials when it starts in the web interface.- Zendro realm configuration will be done when the migration file is executed after zendro starts.
-
Start zendro
Development mode
$ zendro startPlease wait until logs indicate the app is running on XXXX port to access Zendro services.
In default config, zendro services will be on ports:
- API - http://localhost:3000/graphql
- GraphiQL - http://localhost:7070
- Single Page App (SPA) - http://localhost:8080
- Keycloak - http://localhost:8081/
If you are having problems starting zendro in development mode due to “mandatory OAuth2 variables are not being set” error in SPA or GraphiQL, please run
zendro stopto stop the services and thenzendro startto start services again. This happens because graphql-server should write the OAuth2 variables in .env files before SPA and GraphiQL load, but SPA and GraphiQL may load faster than graphql-server.Production mode
$ zendro start -pPlease wait until logs indicate the app is running on XXXX port to access Zendro services.
In default config, zendro services will be on ports: * API - http://localhost:3000/graphql * GraphiQL - http://localhost:7070 * Single Page App (SPA) - http://localhost:8080 * Keycloak - http://localhost:8081
- You can find applications logs on
./logs/graphiql.log,./logs/graphql-server.logand./logs/single-page-app.log.
Important: If you have problems to connect zendro with keycloak service, we recommend you to modify http://localhost:8081 to http://0.0.0.0:8081 in the next .env files. Remember that dotfiles are usually treated as hidden files, so make sure you can view hidden files:
- ./single-page-app/.env.production
- ./single-page-app/.env.development
- ./graphiql-auth/.env.development
- ./graphiql-auth/.env.production
- ./graphql-server/.env
Step 8: Start up Zendro with access control
Zendro can be used checking access rights for every single GraphQL query received by the currently logged in user identified by the Token. The user is decoded and the corresponding roles are loaded to check access rights. This step is carried out by the NPM acl package. Respective access rights can and must be declared in the file ./graphql-server/acl_rules.js.
You can run Zendro with or without this access control check. The default is to run it without checking access rights.
To switch access right check on, you must uncomment the command line switch acl and change the following line in ./graphql-server/migrateDbAndStartServer.sh
npm start #acl
to
npm start acl
Moreover, you can whitelist certain roles, which can own all user permissions, by using WHITELIST_ROLES environment variable. For example, if you wish to whitelist reading actions, modify in ./graphql-server/.env:
WHITELIST_ROLES="reader"
You can add all roles you wish separating them with a comma.
Step 9: Stop Zendro instance
➡ USING DOCKER
Execute this command to stop Zendro. To remove all volumes use -v.
$ zendro dockerize -d -v
If you are on production mode execute:
$ zendro dockerize -d -p -v
➡ WITHOUT DOCKER
Execute this command to stop Zendro if you are on production mode:
$ zendro stop -p
Execute the next command to stop Zendro if you are on development mode:
$ zendro stop
Customize your project (optional)
A couple of basic extensions are suggested to be introduced directly into the GraphQL server code. These are: data validation logic and GraphQL query/mutation patches. To implement custom logic of these extensions some programming is required, however this step is well confined and described.
Furthermore, the whole codebase used to run zendro is exposed and can be directly customized if needed. That is true for the graphql-server as well as the frontend applications.
Add empty or default plots (optional)
Empty or default plots could be generated via zendro CLI. Please see the instruction here
Updating Zendro
To update Zendro enter your zendro folder and execute:
$ git pull
$ rm -r package-lock.json node_modules
$ npm install
Uninstallation
Remove Project
Execute the following to remove a project:
$ sudo rm -r "path/to/<name>"
$ docker rmi -f $(docker images -a -q "<name>*")
$ docker volume rm $(docker volume ls -q | grep "^<name>")
Uninstall Zendro
To uninstall Zendro, execute the following:
$ sudo npm unlink -g zendro
$ sudo rm -r "path/to/zendro"