Quick start
This is a quickstart guide on how to create a new Zendro project with default parameters. It uses pre-defined data models, database and environment variables.
If you want to know more about Zendro or a detailed explanation on how to set up Zendro from scratch, check the Getting started guide instead.
Table of contents
- Step 1: Install Zendro
- Step 2: Set up a new Zendro project
- Step 3: Edit environment variables
- Step 4: Start up your Zendro instance
- Step 5: Stop your Zendro instance
Step 1: Install Zendro
Follow Installation and the Zendro CLI to install the zendro command line tool and its requirements.
Step 2: Set up a new Zendro project
The easiest way to set up Zendro is using the zendro CLI tool with minimal steps and configuration. Go out from the previously created zendro directory:
cd ..
and execute:
zendro set-up -d <name>
where <name> is the name of your new project.
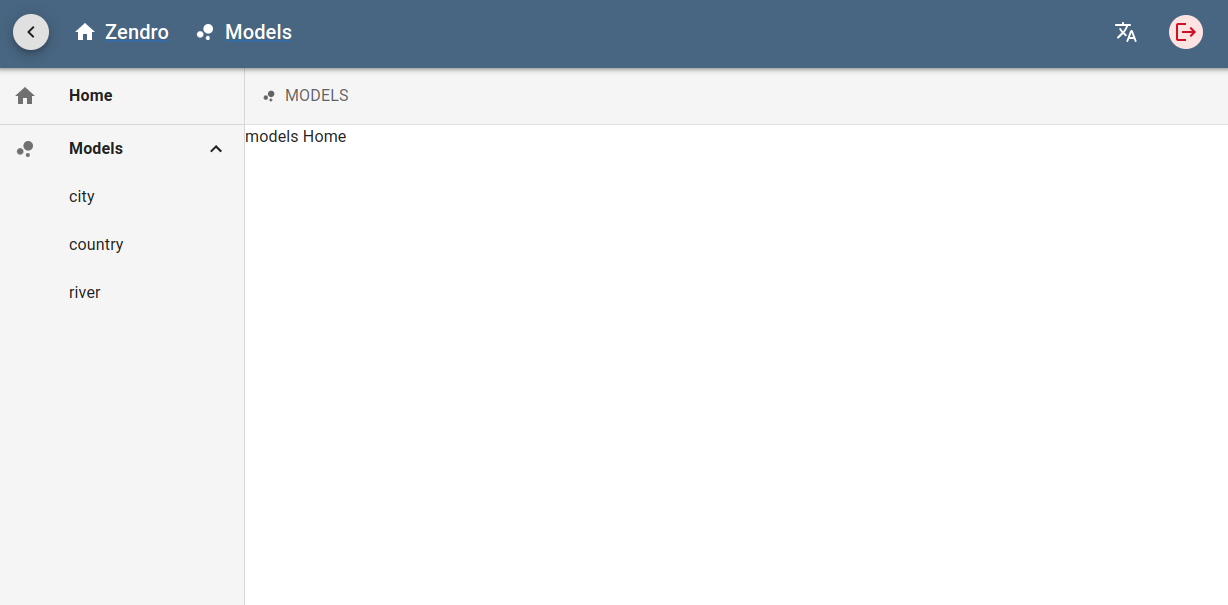
By default, three data models with associations will be used for this instance: city, country and river. A default SQLite database will be used; you can find it in the graphql-server folder.
Step 3: Edit environment variables
Go inside the new project you just created, named <name>, and edit NEXTAUTH_SECRET to your expected secret word in the following files. Remember that dotfiles are usually treated as hidden files, so make sure you can view hidden files:
- SPA in development mode:
./single-page-app/.env.development - SPA in production mode:
./single-page-app/.env.production - GraphiQL in development mode:
./graphiql-auth/.env.development - GraphiQL in production mode:
./graphiql-auth/.env.production
An easy way to set them in Linux is by using the following command, replacing <secret> accordingly:
sed -i 's/^\(NEXTAUTH_SECRET\)=..$/\1="<secret>"/' graphiql-auth/.env.* single-page-app/.env.*
If you want to know more about the environment variables, see Environment variables.
Step 4: Start up your Zendro instance
Development mode
zendro dockerize -u
All servers listen for live changes you make to the files. The SPA and graphiql-auth web services will be slow to use since they compile pages on demand when opening them; to avoid that either change docker-compose-dev.yml to compile and deploy the web services (see docker-compose-prod.yml) or start Zendro in production mode instead.
In development mode there is no reverse proxy mapping the docker services; ports are exposed directly instead.
Note: We recommend using a Linux system for development mode.
If you get a “mandatory OAuth2 variables are not being set” error in SPA or GraphiQL, run zendro dockerize -d -v to stop the services and then zendro dockerize -u to start them again. This happens because graphql-server needs to write the OAuth2 variables to the .env files before SPA and GraphiQL load, but they sometimes load faster than graphql-server.
Production mode
zendro dockerize -u -p
This creates a docker container for each Zendro component:
- Keycloak: manages users and roles
- Single Page App (SPA): graphical interface to send CRUD requests to a Zendro GraphQL endpoint
- API: CRUD API accessible through the GraphQL query language
- GraphiQL interface: an implementation of the GraphQL IDE with Zendro login and advanced filter functionalities
Check the running containers with docker ps, and their logs with docker logs -f <container name>.
Wait until the logs indicate the app is running on the expected port before accessing Zendro’s services.
With the default configuration, the running containers will be:
-
Keycloak —
http://localhost:8081/auth, default useradmin/ passwordadmin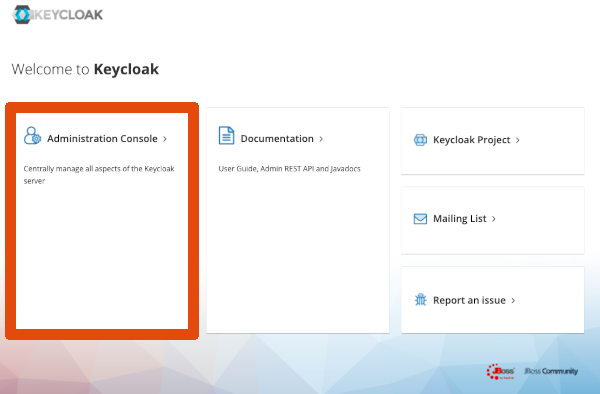

-
SPA —
http://localhost:8080, default userzendro-admin/ passwordadmin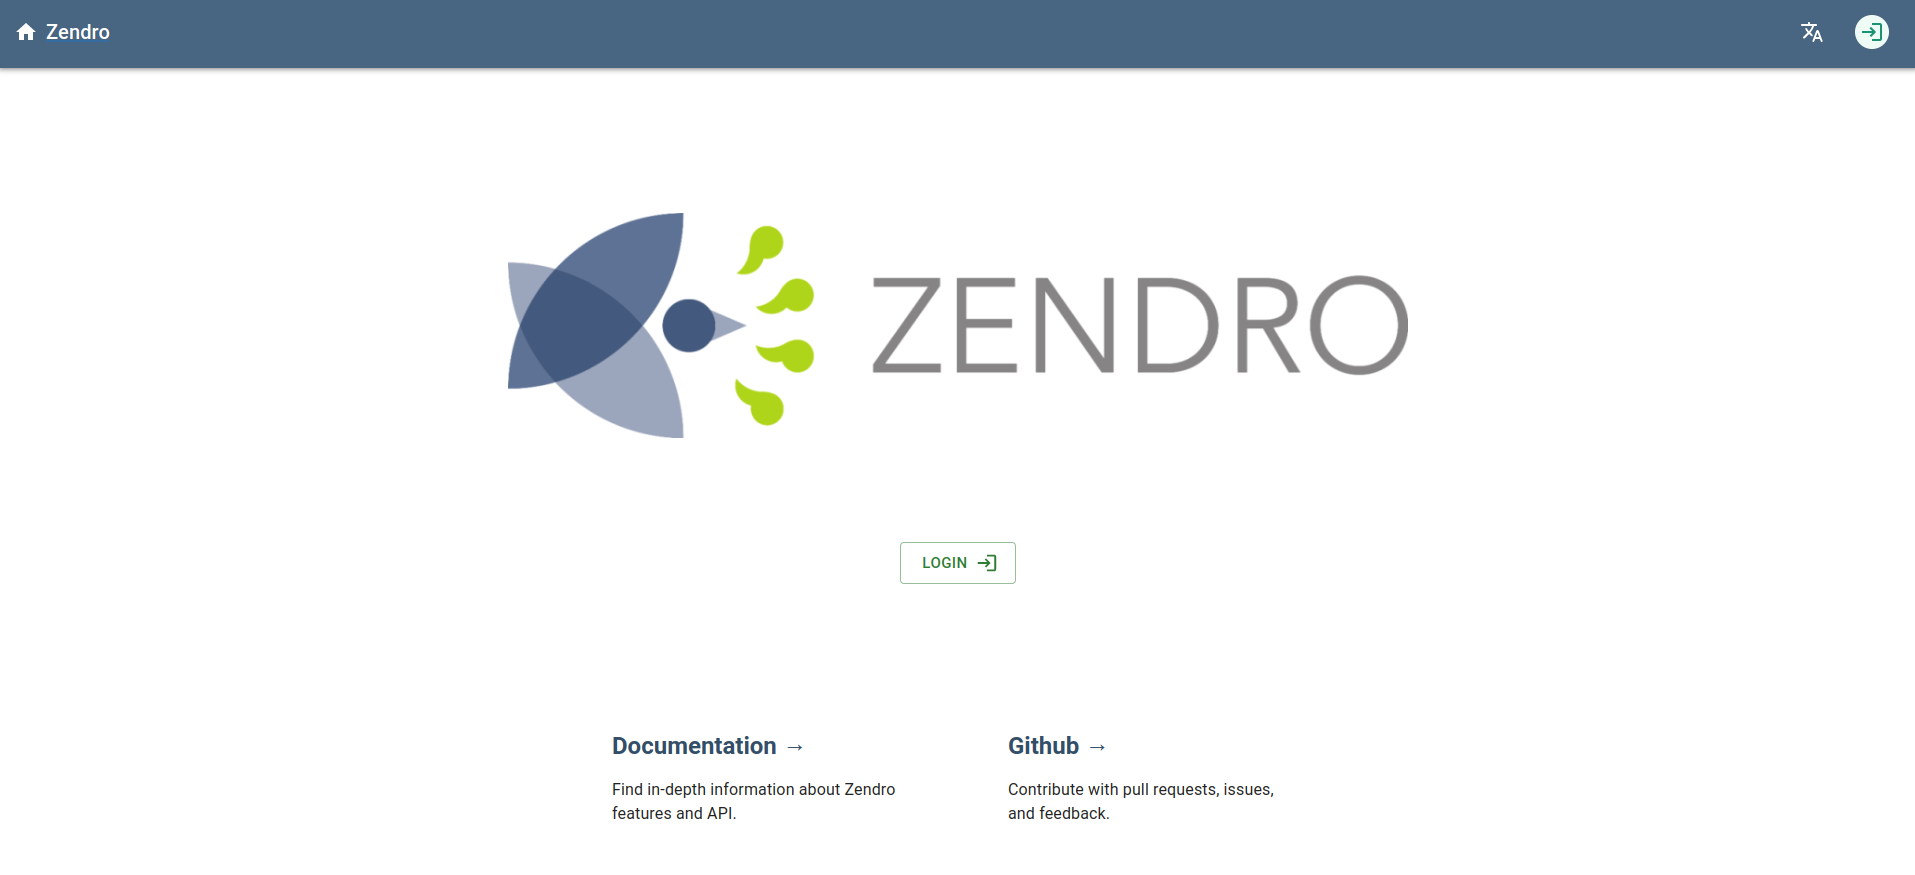
-
GraphQL API —
http://localhost:3000/graphql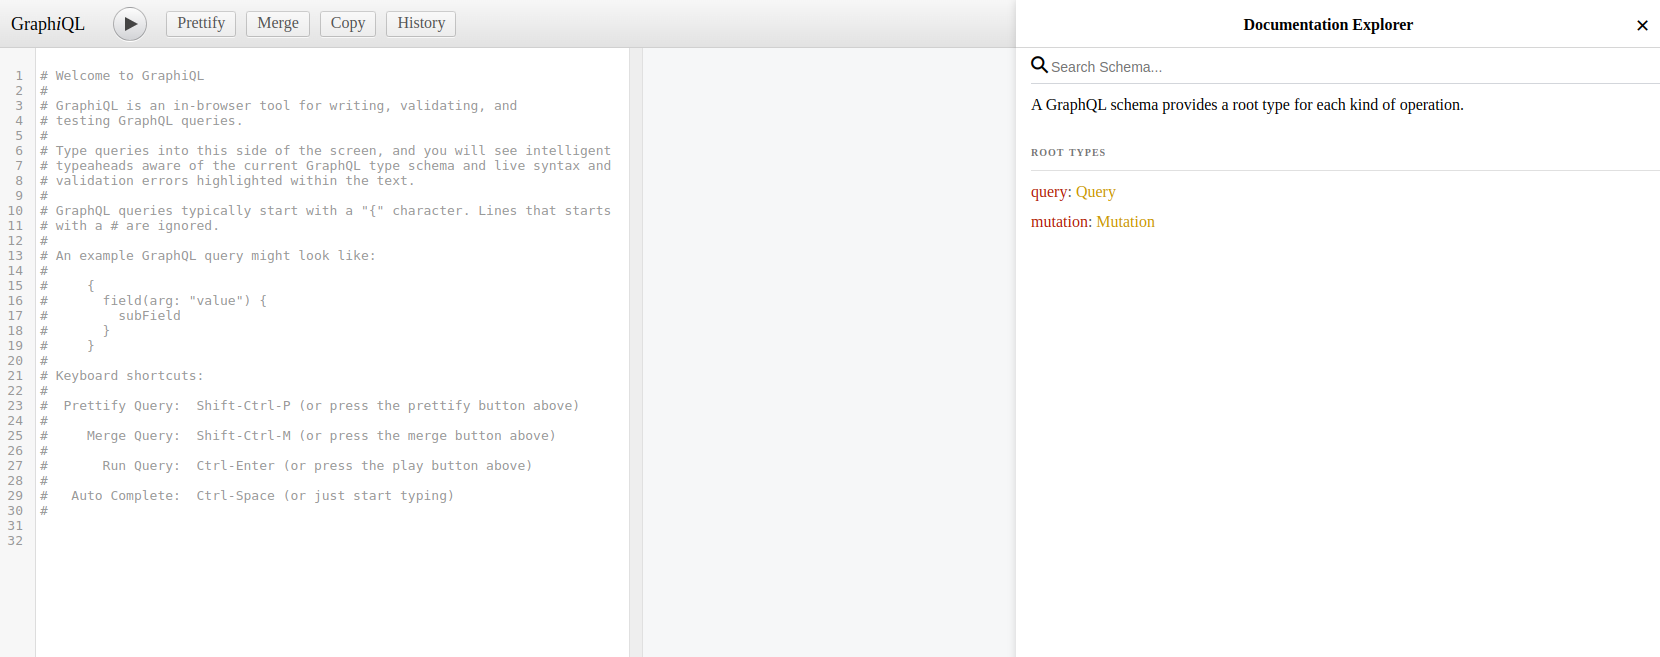
-
GraphiQL interface with filter functionality —
http://localhost:7070, default userzendro-admin/ passwordadmin 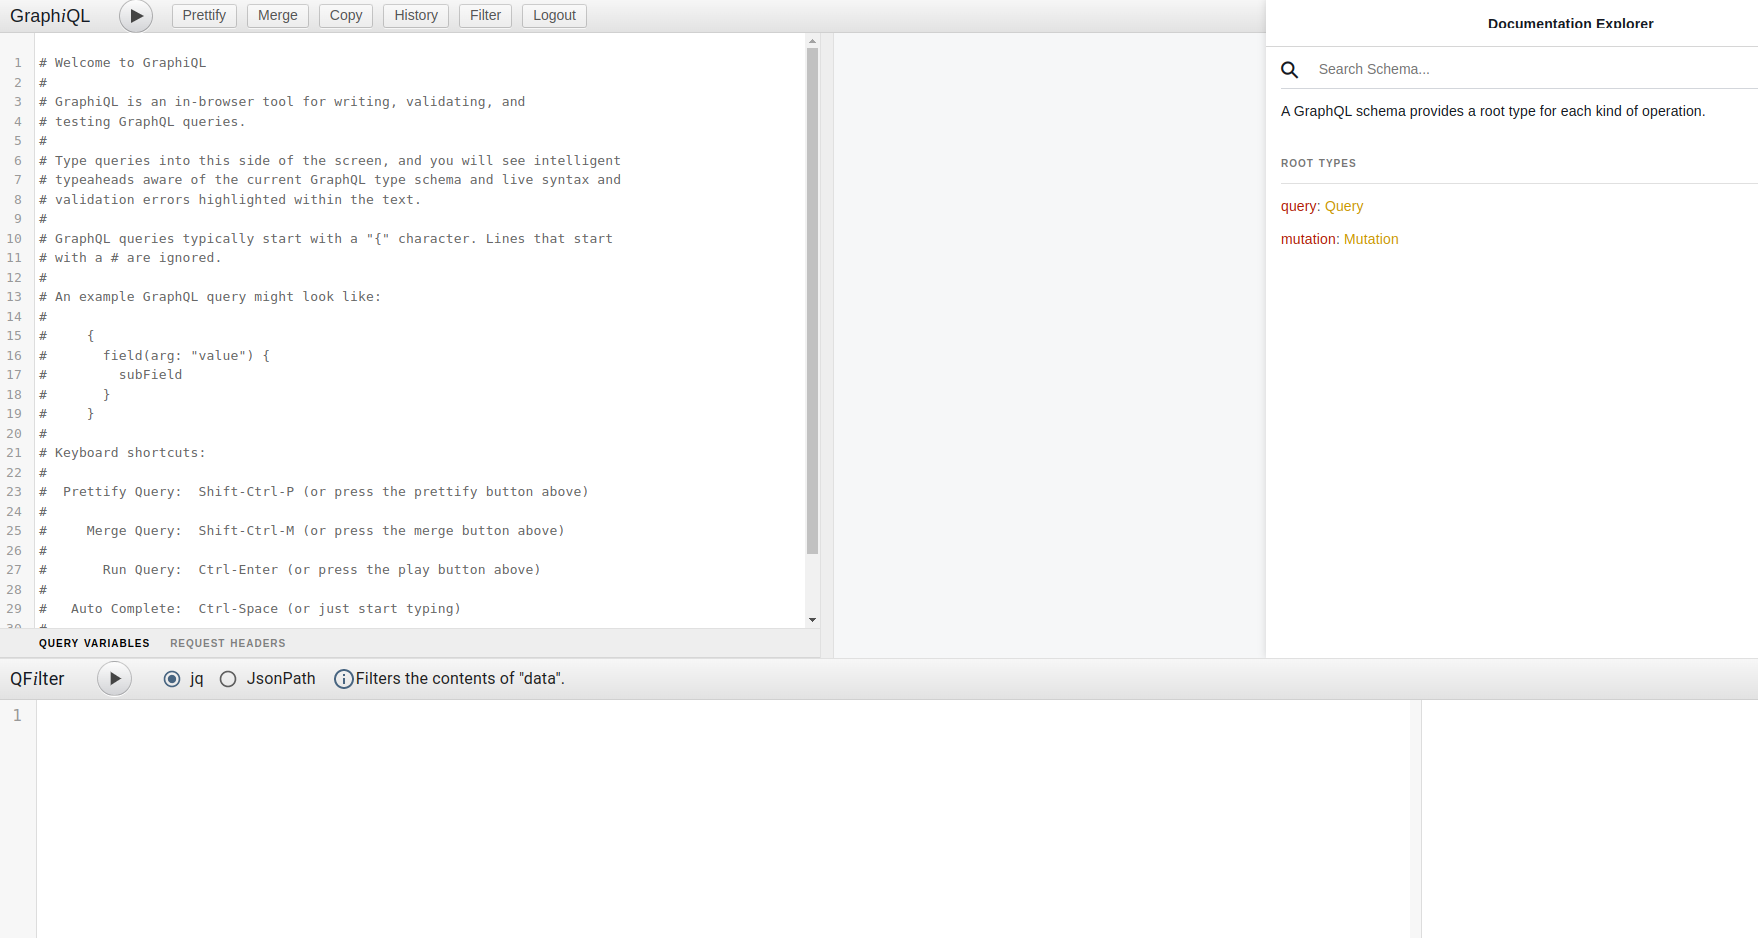
For the default database, you can also install sqlite3 to inspect the data directly:
sudo apt install sqlite3
Then, from the graphql-server folder, run:
sqlite3 data.db
You can list tables and run queries inside sqlite with:
sqlite> .tables
sqlite> SELECT * FROM <table>;
sqlite> .exit
Step 5: Stop your Zendro instance
# Production
zendro dockerize -d -p -v

# Development
zendro dockerize -d -v
Note: The -v flag also removes all volumes. Drop it if you want to persist your data, including user data, between restarts.
Need to update or uninstall Zendro afterwards? See Installation and the Zendro CLI.