Quick start
This is a quickstart guide on how to create a new Zendro project with default parameters. It uses pre-defined data models, database and environment variables.
If you want to know more about Zendro or a detailed explanation on how to set up Zendro from scratch, check the Getting started guide instead.
Table of contents
- Hotstart
- Step 1: Install Zendro
- Step 2: Set up a new Zendro project
- Step 3: Edit environment variables (optional)
- Step 4: Start up your Zendro instance
- Step 5: Stop your Zendro instance
Hotstart
For the impatient: paste one of the blocks below into a terminal (Linux, or Windows via WSL) to get a full local Zendro sandbox running with the same demo data used throughout these guides. Each step is explained in detail further down this page and in Installation and the Zendro CLI — come back here any time as a quick reference.
With docker
# --allow-git=all is required on npm 12+, where git installs are off by default
npm install -g --allow-git=all git+https://github.com/Zendro-dev/zendro.git
zendro set-up -d zendro-example
cd zendro-example
zendro dockerize -u
Without docker
# --allow-git=all is required on npm 12+, where git installs are off by default
npm install -g --allow-git=all git+https://github.com/Zendro-dev/zendro.git
zendro set-up zendro-example
cd zendro-example

# Keycloak (requires Java 17+, https://www.java.com/en/)
wget https://github.com/keycloak/keycloak/releases/download/26.7.0/keycloak-26.7.0.zip
unzip keycloak-26.7.0.zip
# zendro set-up dropped a ready-made keycloak.conf in the project - it sets the
# port to 8081 and the /auth path prefix Zendro expects.
cp keycloak.conf keycloak-26.7.0/conf/keycloak.conf
# Log Keycloak into the project's logs/ folder, alongside zendro's own server
# logs (graphql-server.log, single-page-app.log, graphiql.log).
KC_BOOTSTRAP_ADMIN_USERNAME=admin KC_BOOTSTRAP_ADMIN_PASSWORD=admin ./keycloak-26.7.0/bin/kc.sh start-dev > logs/keycloak.log 2>&1 &

zendro start
On Windows, we recommend using WSL. However, inside WSL consider operating on native paths, not the mounted windows. There is high IO latency otherwise.
On Mac, we recommend the “Without docker” path. If npm install -g needs elevated permissions on your system, prefix it with sudo.
Once running, jump to Step 4 below to see the running services, or skip straight to how to use the graphical interface or GraphQL basics.
Step 1: Install Zendro
Follow Installation and the Zendro CLI to install the zendro command line tool and its requirements.
Step 2: Set up a new Zendro project
The easiest way to set up Zendro is using the zendro CLI tool with minimal steps and configuration:
zendro set-up -d <name>
where <name> is the name of your new project.
By default, three data models with associations will be used for this instance: city, country and river. A default SQLite database will be used; you can find it in the graphql-server folder.
This clones the latest-stable tag of each of single-page-app, graphql-server and graphiql-auth by default — add --spa-ref, --gqs-ref and/or --giql-ref to pin a different branch or tag instead, e.g. zendro set-up -d --gqs-ref my-branch <name>. See the CLI reference for details.
Step 3: Edit environment variables (optional)
NEXTAUTH_SECRET (single-page-app) and SESSION_SECRET (graphql-server, used for GraphiQL login) ship empty. You can leave them blank — the Keycloak setup migration that runs automatically on first startup (see Step 4) fills in a secure random value for whichever one is still empty. Set them yourself now only if you want to know/control the value (e.g. to keep it stable across redeployments):
zendro set-session-secret spa <secret>
zendro set-session-secret gqs <secret>
Replace <secret> with a strong random value, e.g. from openssl rand -base64 32 — use a different value for each command. The first sets NEXTAUTH_SECRET in both ./single-page-app/.env.development and ./single-page-app/.env.production; the second sets SESSION_SECRET in ./graphql-server/.env. graphiql-auth needs no secret of its own — it holds no Keycloak credentials, and graphql-server runs login/logout on its behalf.
If you want to know more about the environment variables, see Environment variables.
Step 4: Start up your Zendro instance
Development mode
zendro dockerize -u
All servers listen for live changes you make to the files. The SPA and graphiql-auth web services will be slow to use since they compile pages on demand when opening them; to avoid that either change docker-compose-dev.yml to compile and deploy the web services (see docker-compose-prod.yml) or start Zendro in production mode instead.
In development mode there is no reverse proxy mapping the docker services; ports are exposed directly instead.
Note: We recommend using a Linux system for development mode.
If you get a “mandatory OAuth2 variables are not being set” error in SPA or GraphiQL, run zendro dockerize -d -v to stop the services and then zendro dockerize -u to start them again. This happens because graphql-server needs to write the OAuth2 variables to the .env files before SPA and GraphiQL load, but they sometimes load faster than graphql-server.
Production mode
zendro dockerize -u -p
This creates a docker container for each Zendro component:
- Keycloak: manages users and roles
- Single Page App (SPA): graphical interface to send CRUD requests to a Zendro GraphQL endpoint
- API: CRUD API accessible through the GraphQL query language
- GraphiQL interface: an implementation of the GraphQL IDE with Zendro login and advanced filter functionalities
Check the running containers with docker ps, and their logs with docker logs -f <container name>.
Wait until the logs indicate the app is running on the expected port before accessing Zendro’s services.
With the default configuration, the running containers will be:
-
Keycloak —
http://localhost:8081/auth/admin/zendro/console, default userzendro-admin/ passwordadmin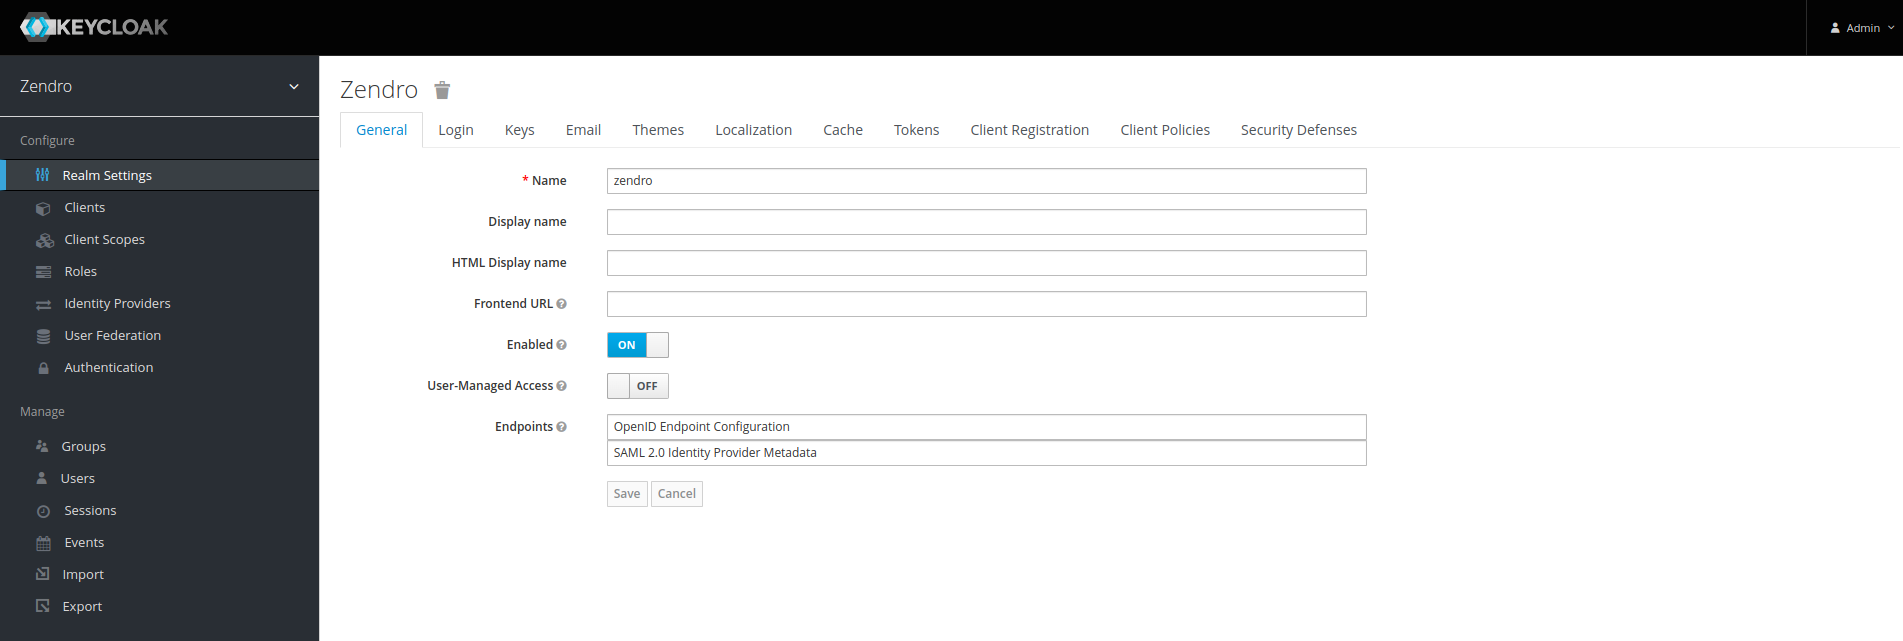
-
SPA —
http://localhost:8080, default userzendro-admin/ passwordadmin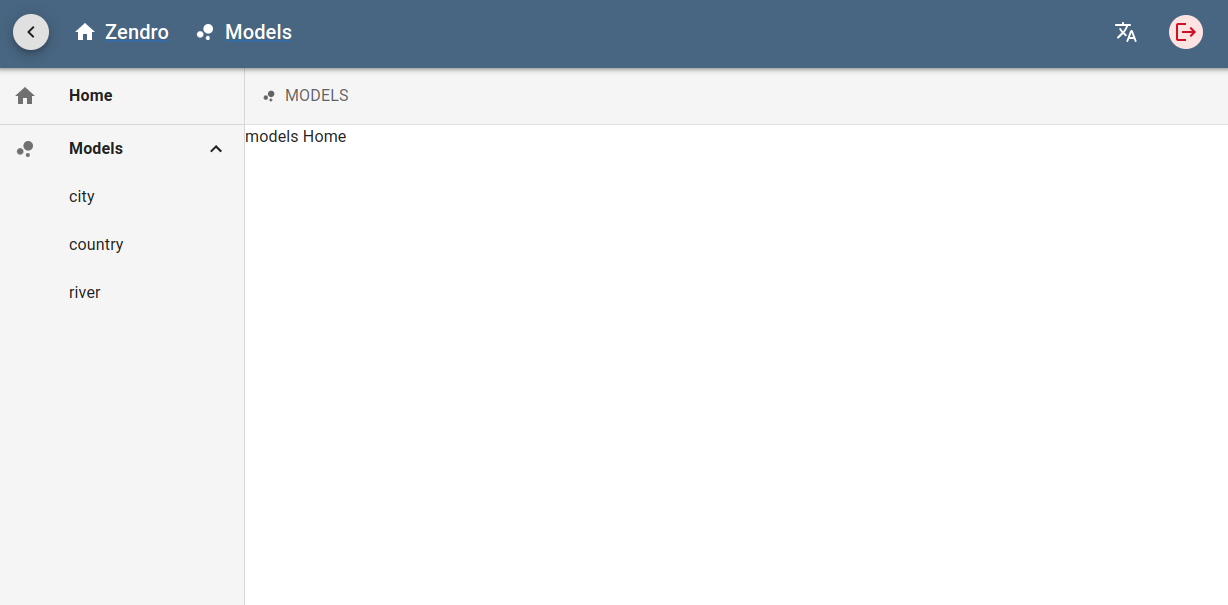
-
GraphQL API —
http://localhost:3000/graphql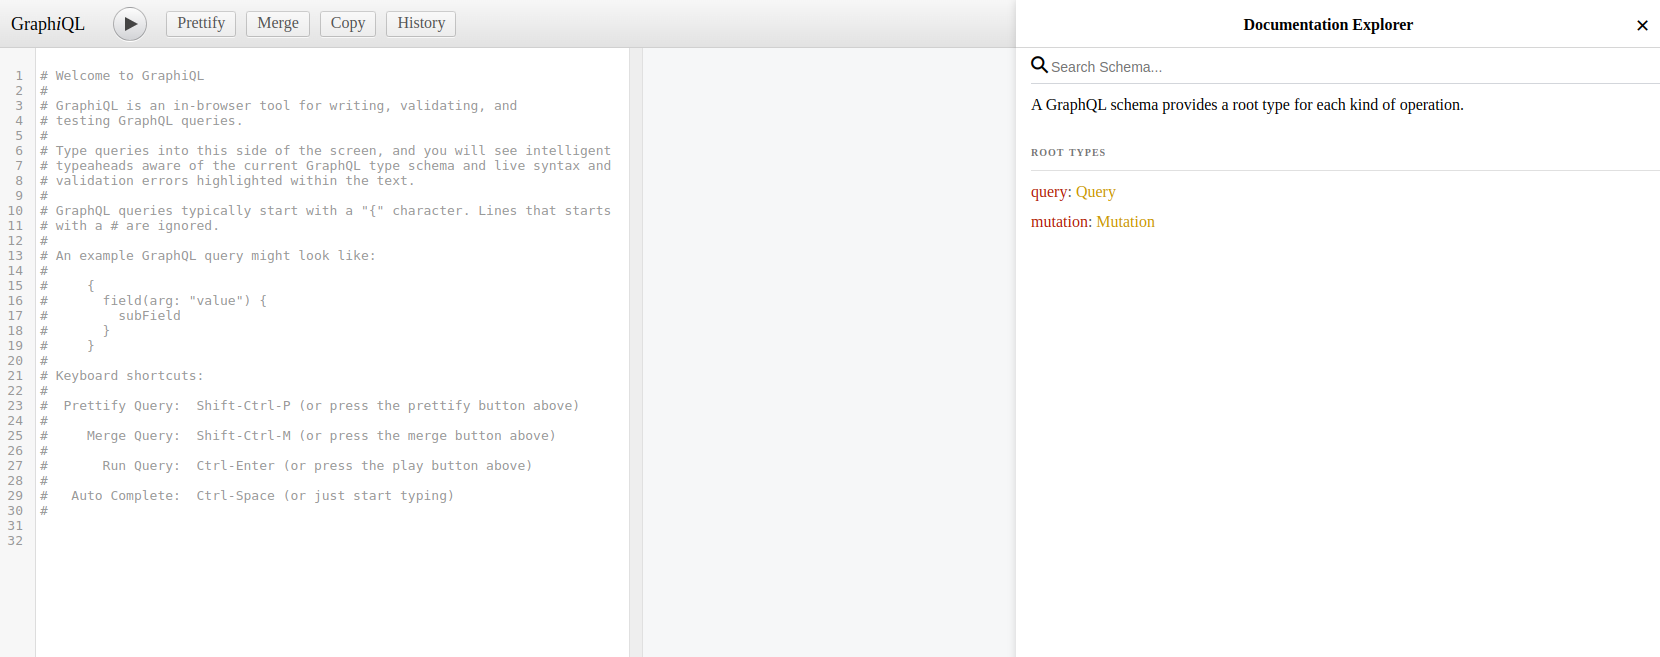
-
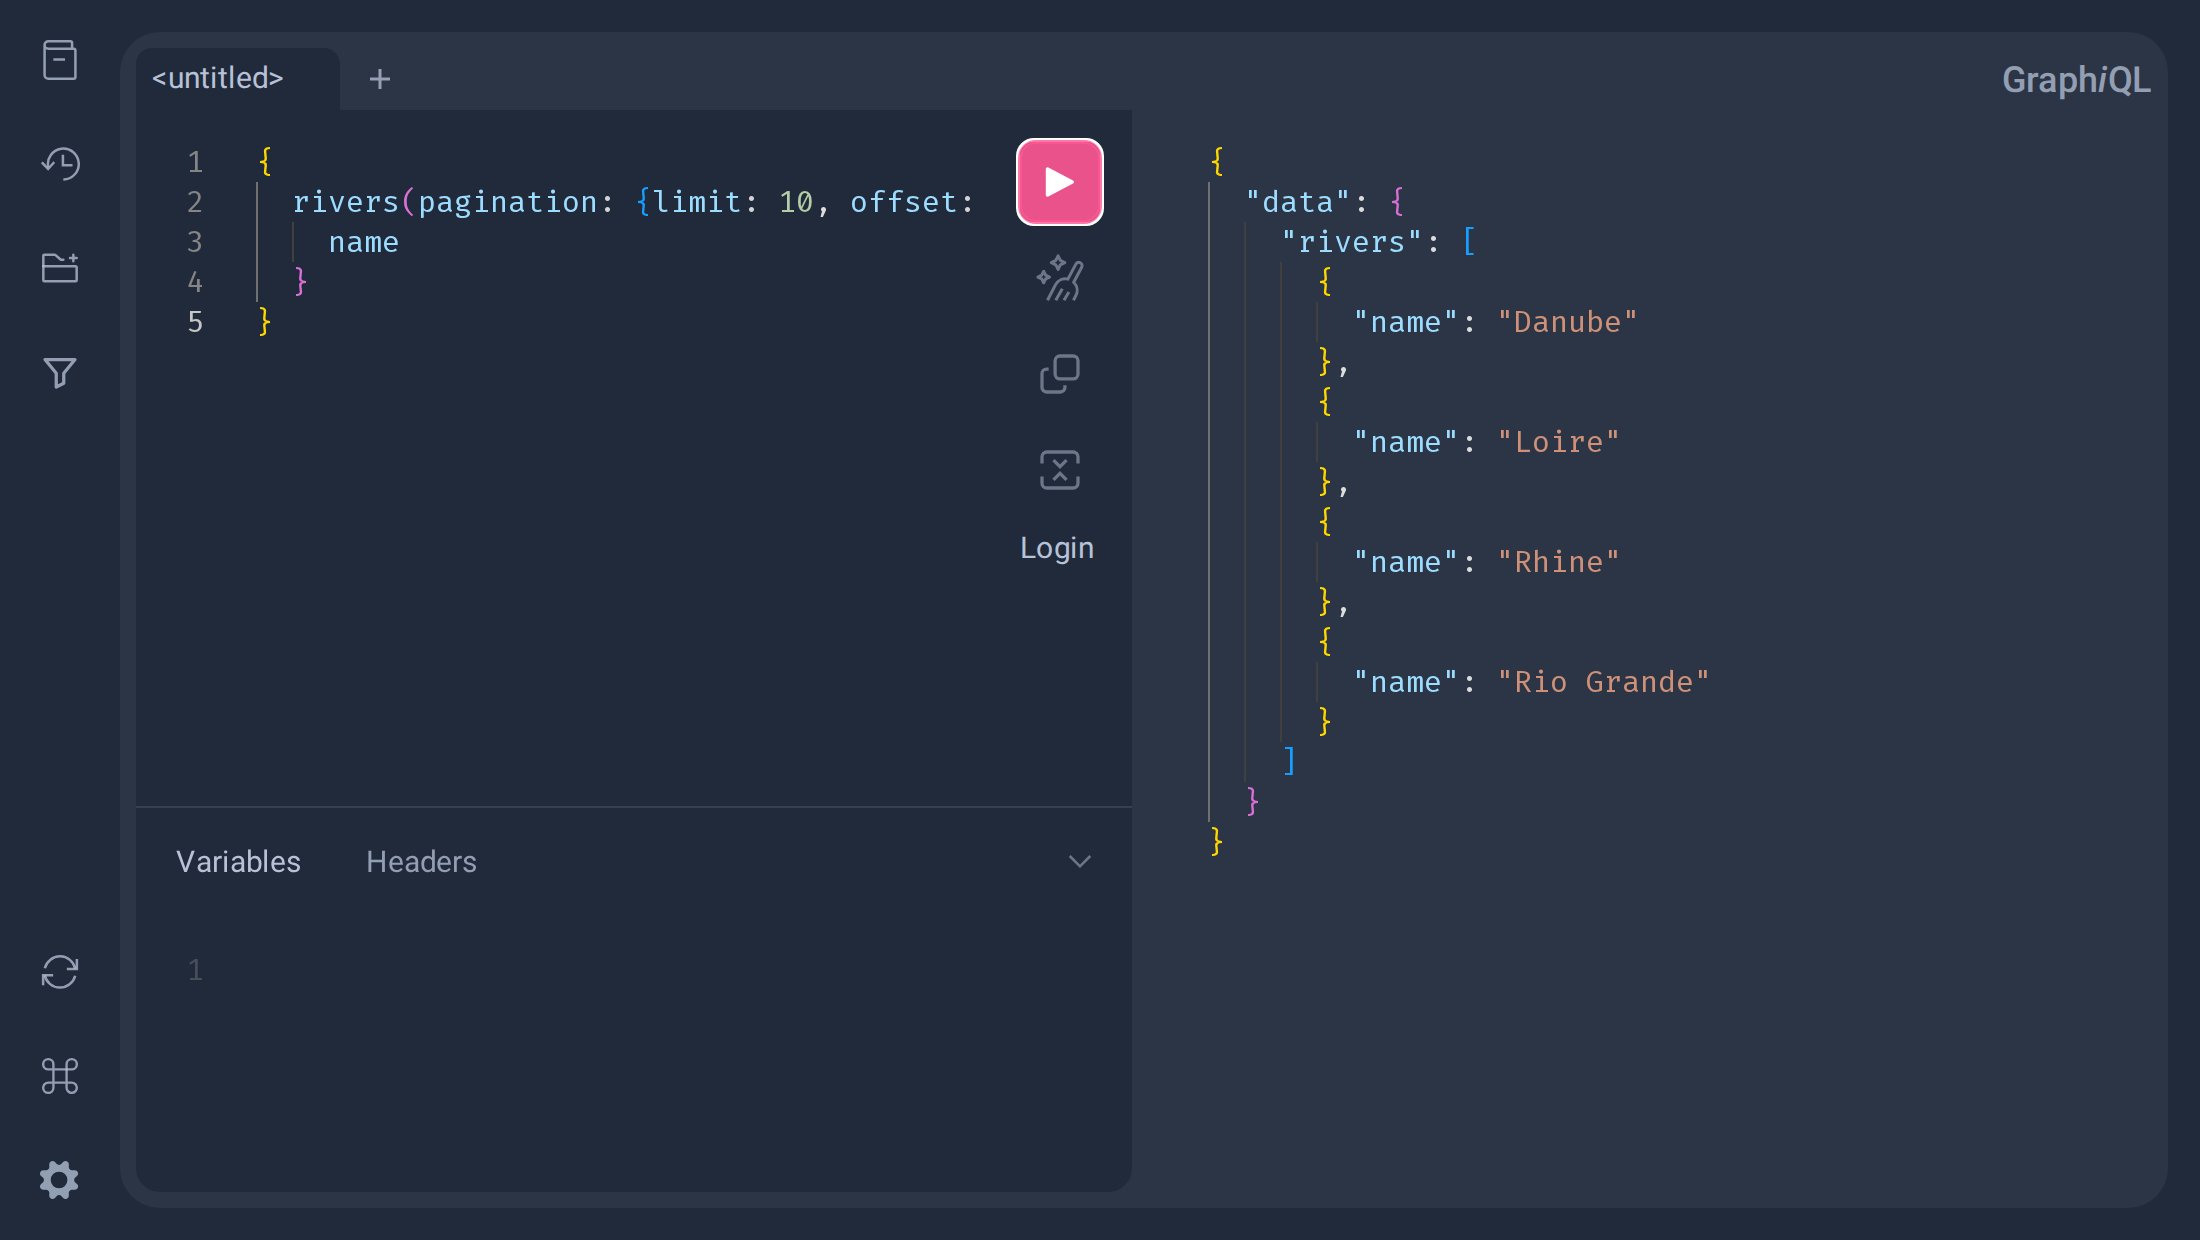
GraphiQL interface with filter functionality —
http://localhost:7070, default userzendro-admin/ passwordadmin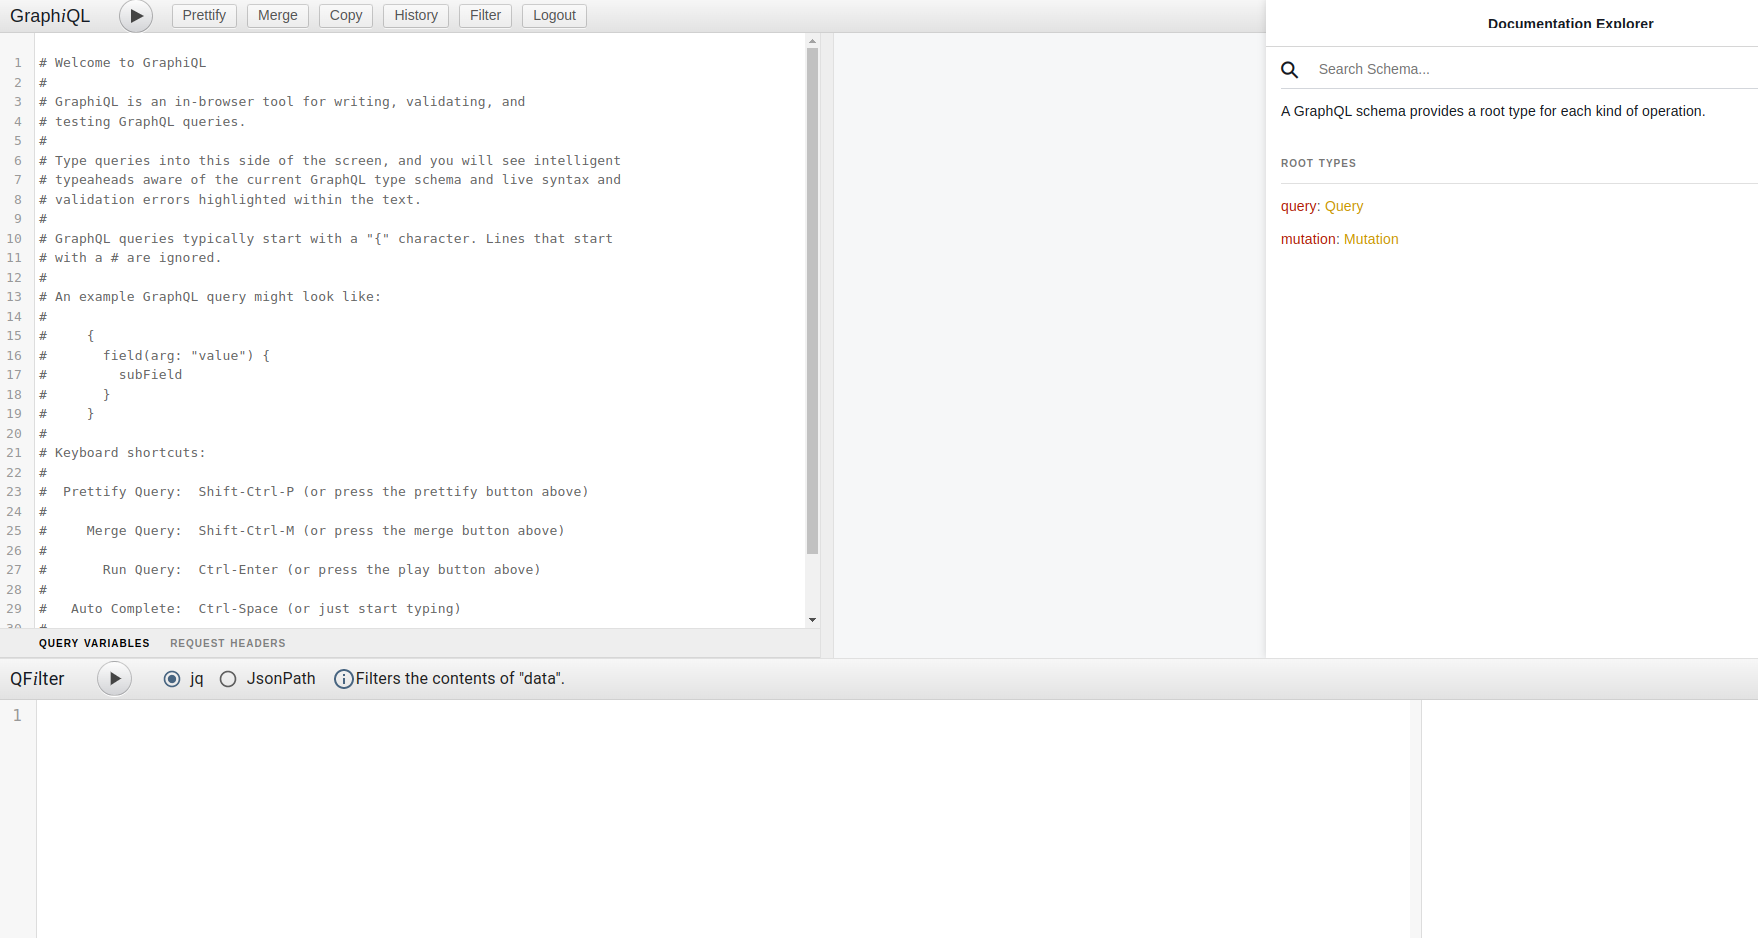
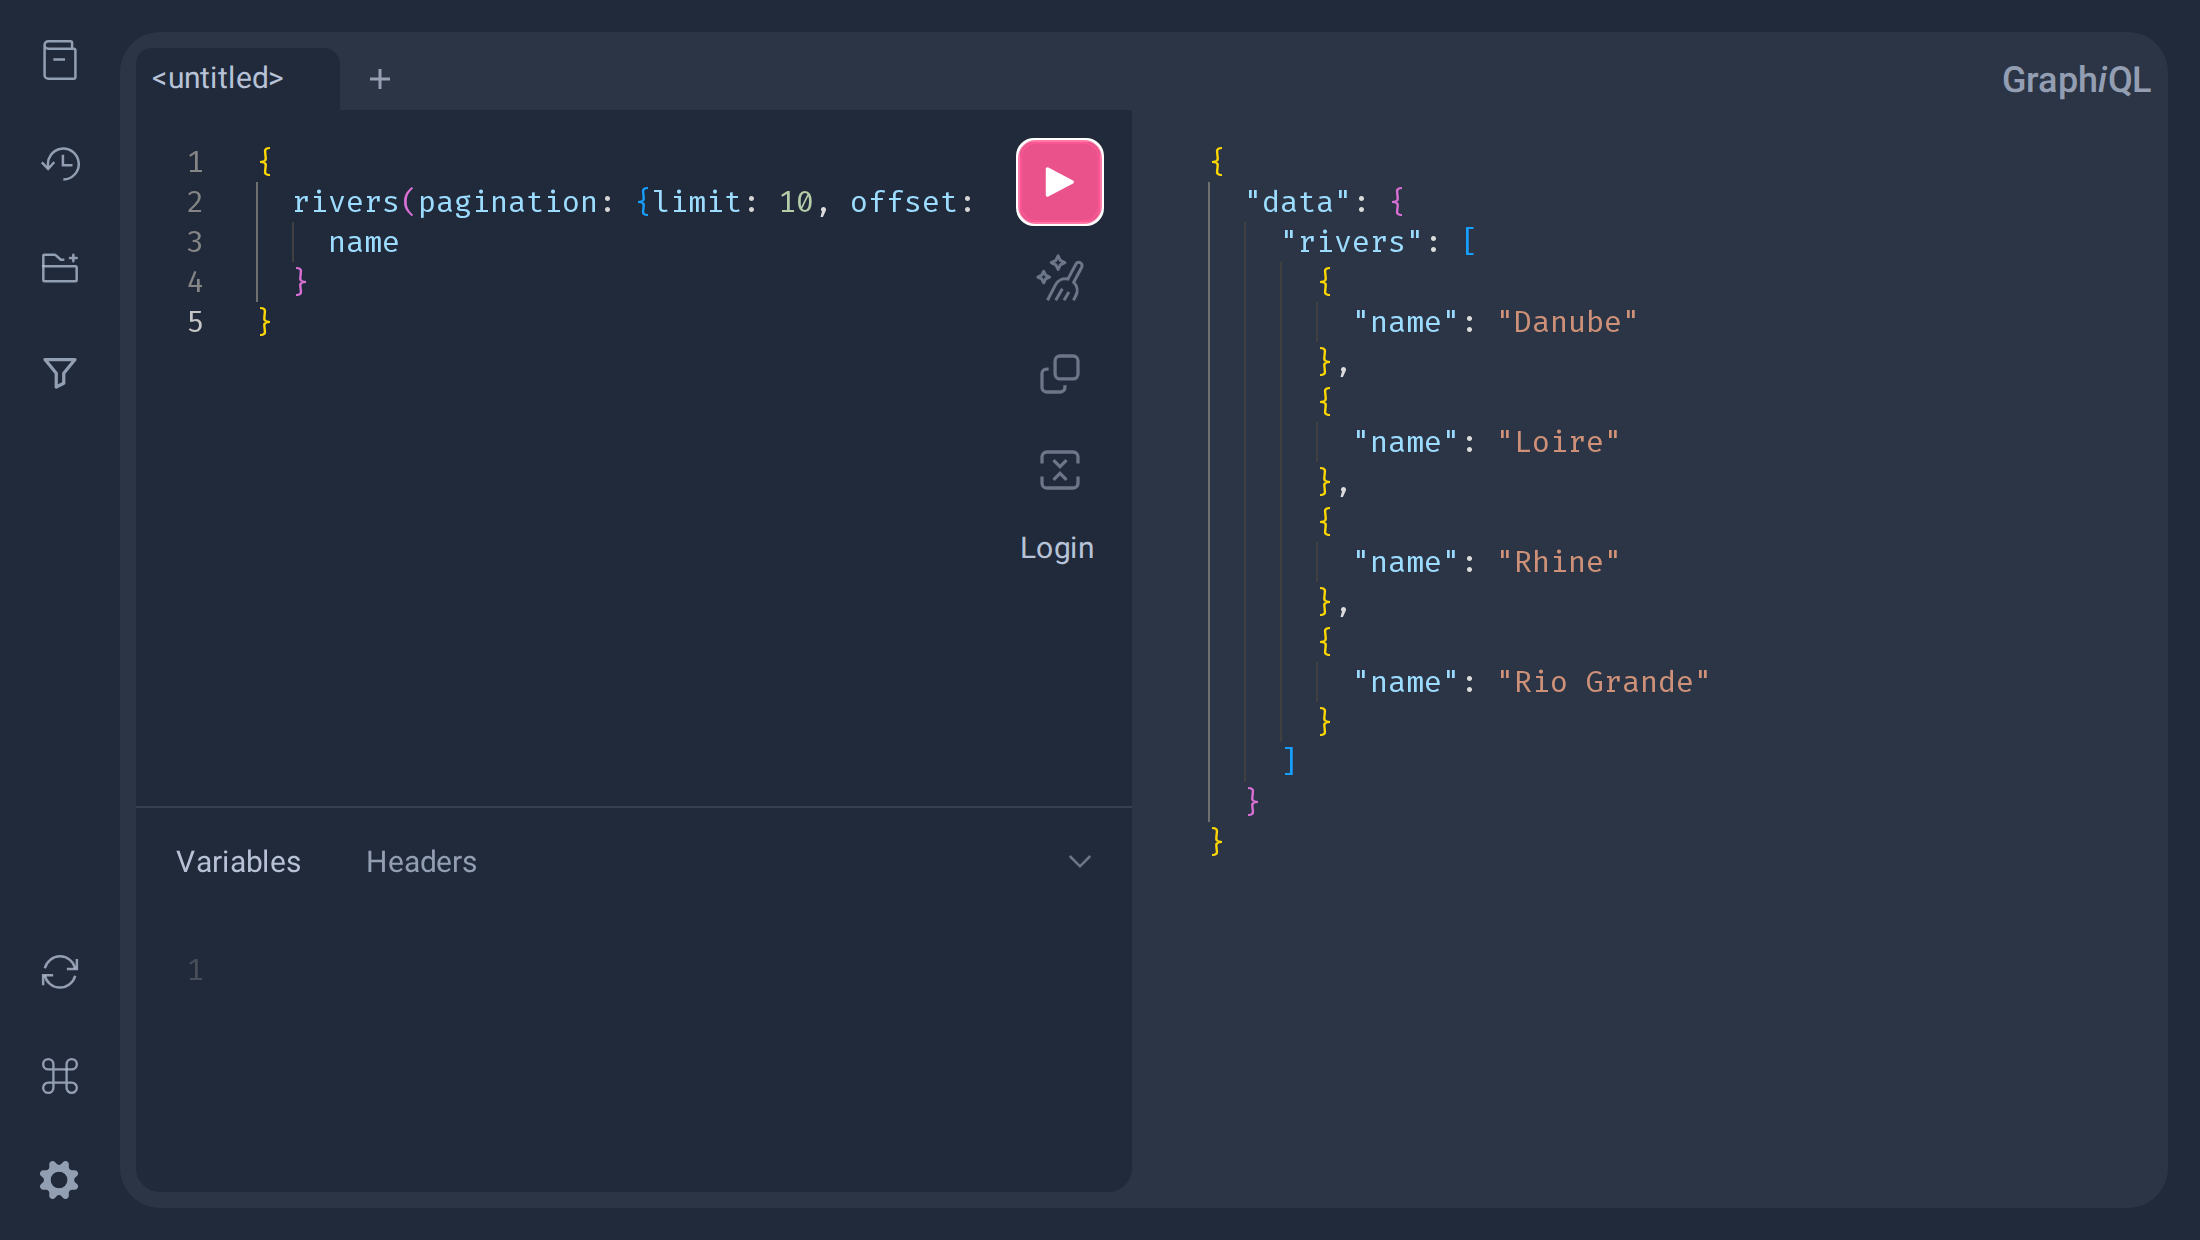
For a full walkthrough with a screenshot of every step, see the Getting started guide, how to use the graphical interface, or GraphQL basics.
For the default database, you can also install sqlite3 to inspect the data directly:
sudo apt install sqlite3
Then, from the graphql-server folder, run:
sqlite3 data.db
You can list tables and run queries inside sqlite with:
sqlite> .tables
sqlite> SELECT * FROM <table>;
sqlite> .exit
Step 5: Stop your Zendro instance
With docker, stop the containers with zendro dockerize -d:
# Production
zendro dockerize -d -p -v

# Development
zendro dockerize -d -v
Note: The -v flag also removes all volumes. Drop it if you want to persist your data, including user data, between restarts.
Without docker, stop the local servers that zendro start launched with zendro stop:
# Production
zendro stop -p

# Development
zendro stop
Keycloak runs separately in the non-docker setup, so also stop the kc.sh process you started in the Hotstart (e.g. fuser -k 8081/tcp).
Need to update or uninstall Zendro afterwards? See Installation and the Zendro CLI.