Getting started
This is a step-by-step guide on how to create a new Zendro project from scratch, aimed at software developers and system administrators. If you just want to try Zendro with default settings, the Quickstart guide is a faster path.
Table of contents
- Step 1: Install Zendro
- Step 2: Set up a new Zendro project
- Step 3: Edit environment variables (optional)
- Step 4: Define your data models
- Step 5: Generate code and migrations
- Step 6 (optional): Define your database connection
- Step 7: Start up Zendro
- Step 8: Start up Zendro with access control
- Step 9: Stop Zendro instance
- Customize your project (optional)
- Add empty or default plots (optional)
Zendro consists of four source-code projects: graphql-server-model-codegen, graphql-server, single-page-app and graphiql-auth. The first pair is responsible for the back-end GraphQL service, available by default at http://localhost:3000/graphql; to bring up the server, code has to be generated first. The third project acts as a client of the GraphQL server and creates a simple generic web-based GUI, available by default at http://localhost:8080. The last project offers a Zendro-specific implementation of the browser-based GraphQL IDE GraphiQL, a simple Next.js application with custom adjustments to accommodate Zendro’s authentication requirements and enhanced meta-searches using jq or JSONPath statements.
Step 1: Install Zendro
Follow Installation and the Zendro CLI to install the zendro command line tool and its requirements.
Step 2: Set up a new Zendro project
The easiest way to set up Zendro is using the zendro CLI tool. With minimal steps and configuration, a Zendro warehouse tailored to your data needs can be deployed.
-
If you prefer to use docker, execute:
# "-d" adds Dockerfiles to fully dockerize running zendro zendro new -d <my-project-name> -
If you prefer to use Zendro without docker, execute:
zendro new <my-project-name>
By default, this clones the latest-stable tag of each of single-page-app, graphql-server and graphiql-auth. To pin a different branch or tag of one of them instead, add --spa-ref, --gqs-ref and/or --giql-ref — see the CLI reference for details.
Step 3: Edit environment variables (optional)
Go inside the new project and modify the relevant environment variables as needed. Two of them, NEXTAUTH_SECRET (single-page-app) and SESSION_SECRET (graphql-server, used for GraphiQL login), ship empty. You can leave them blank — the Keycloak setup migration that runs automatically on first startup (see Step 7) fills in a secure random value for whichever one is still empty. Set them yourself now only if you want to know/control the value:
zendro set-session-secret spa <secret>
zendro set-session-secret gqs <secret>
With or without docker (remember that dotfiles are usually treated as hidden files, so make sure you can view hidden files). Replace <secret> with a strong random value, e.g. from openssl rand -base64 32 — use a different value for each command:
- The first command sets
NEXTAUTH_SECRETin both./single-page-app/.env.developmentand./single-page-app/.env.production. - The second sets
SESSION_SECRETin./graphql-server/.env, used by graphql-server’s own login backend for GraphiQL (enabled by default). - graphiql-auth needs no secret of its own — it holds no Keycloak credentials, and graphql-server runs login/logout on its behalf. It only has a single
./graphiql-auth/.envfile (not split by mode).
If you would like to upload a file to a remote server, use the template .env.migration.sample to create a new file .env.migration and modify the relevant environment variables.
See Environment variables for the full list.
Note: The data_models_storage_config.json file defines the connections to the databases Zendro should be aware of. Currently Zendro integrates sequelize, neo4j, cassandra, Amazon S3 and mongodb. For other storage types, you need to implement the connection layer and add a new storage type, or use generic models. If you want to use other supported storage types, you can reuse the two example files that illustrate the configuration of all supported storage types with the docker setup: ./config/data_models_storage_config_example.json and ./docker-compose-dev-example.yml.
Step 4: Define your data models
Add your model definitions in JSON files to the ./data_model_definitions folder. See Data models to learn how to define data models with Zendro.
Note: by default, indices are generated for internalId. It is recommended to also add indices for attributes that are foreign keys — see the JSON specification for more information.
You should also configure the storage types you use, such as credentials or the port of a database:
-
Without docker setup: if you wish to use the default database, replace the content of
./graphql-server/config/data_models_storage_config.jsonwith:{ "default-sql": { "storageType": "sql", "dialect": "sqlite", "storage": "data.db" } } -
With docker setup: edit
./config/data_models_storage_config.json.
Step 5: Generate code and migrations
After setting up your data models, use the following command to generate the model-specific code and fill your Zendro skeleton project with life:
zendro generate -m
This automatically generates all basic create, read, update and delete (CRUD) operations for each data model in your scheme.
It also creates migration files. By default, every migration file has two functions, up and down: up creates a table, down deletes the existing table. Both functions also add or drop indices for primary keys. Migration functions can be further customized — see the CLI reference to learn more.
Step 6 (optional): Define your database connection
If you want to connect Zendro to an already existing database, possibly already populated with data, there is no need for Zendro to run any migrations to create the necessary infrastructure — leave out the -m flag from the zendro generate command above.
To define the connection to your local database, edit the config/data_models_storage_config.json configuration file. You can reference a connection name in your data model definition via the database attribute — see the JSON specification for more information.
This file can define any number of database connections that Zendro should be aware of. Depending on the driver used, a different set of attributes is expected. Details can be found in the default storage configuration for each storage type.
Step 7: Start up Zendro
➡ Using docker
The recommended way to run your Zendro instance is via docker. This ensures that, regardless of your local infrastructure, Zendro will behave the same.
Start Zendro in production mode, or without -p for development mode:
zendro dockerize -u -p
This creates a docker container for each Zendro component:
- Keycloak: manages users and roles
- Single Page App (SPA): graphical interface to send CRUD requests to a Zendro GraphQL endpoint
- API: CRUD API accessible through the GraphQL query language
- GraphiQL interface: an implementation of the GraphQL IDE with Zendro login and advanced filter functionalities
- traefik reverse-proxy: maps the docker services above
Check the running containers with docker ps, and their logs with docker logs -f <container name>.
Wait until the logs indicate the app is running on the expected port before accessing Zendro’s services.
With the default configuration, the running containers will be:
-
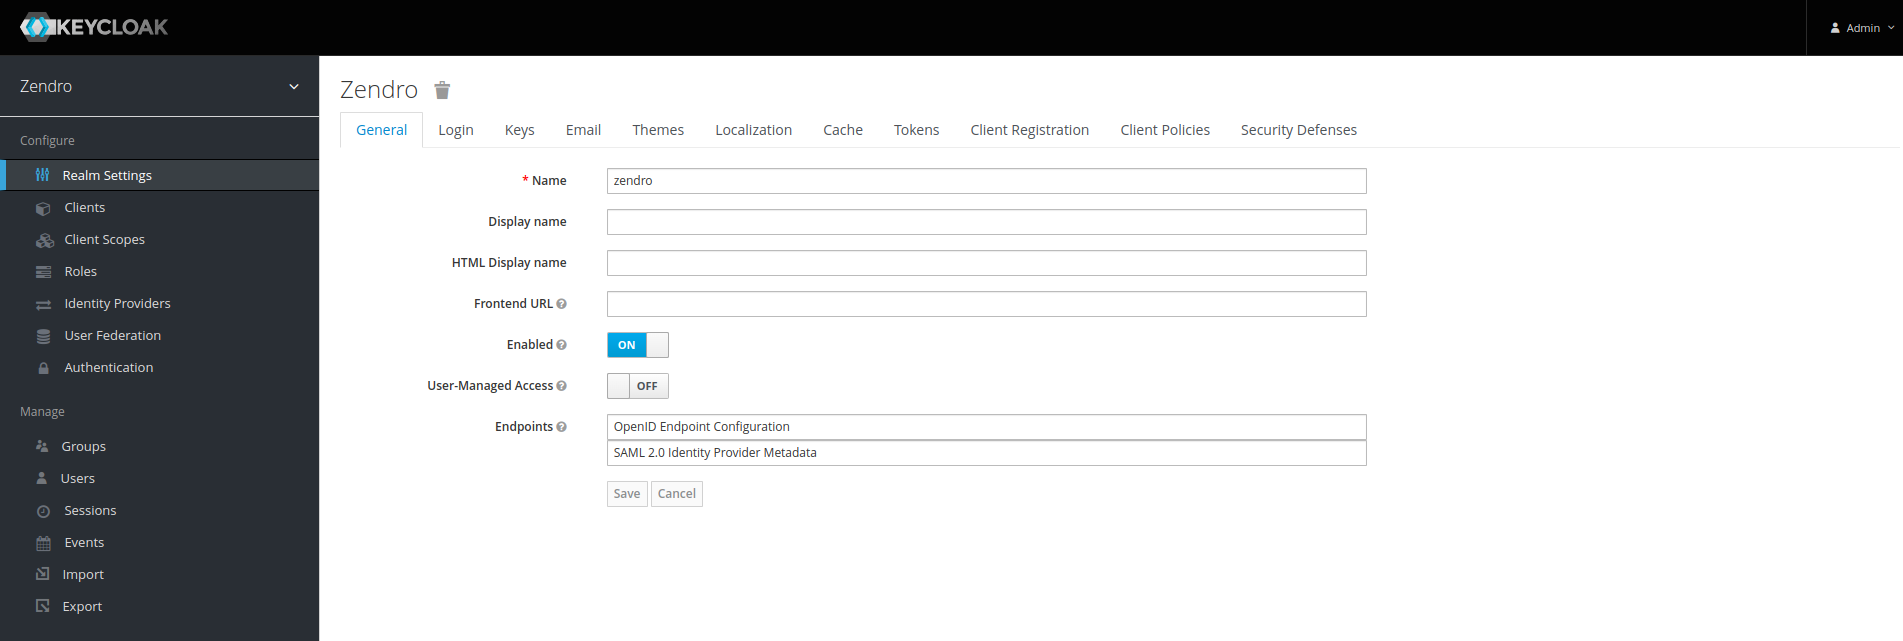
Keycloak —
http://localhost:8081/auth/admin/zendro/console, default userzendro-admin/ passwordadmin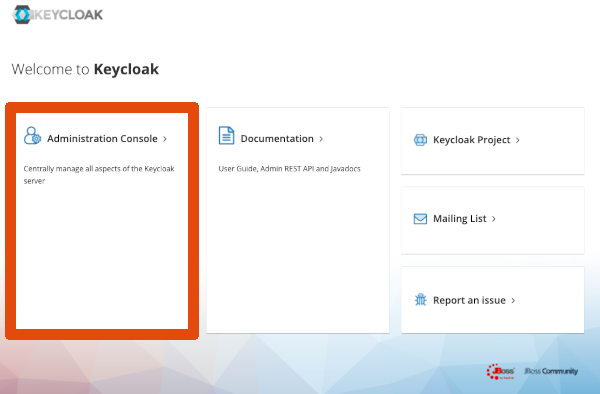
-
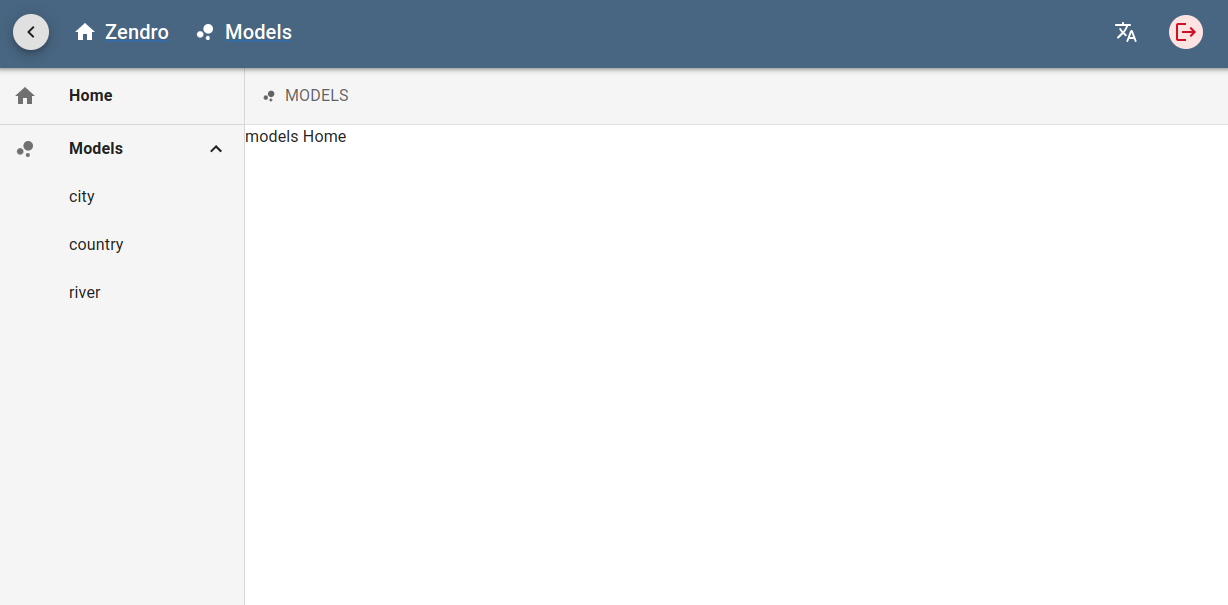
SPA —
http://localhost:8080, default userzendro-admin/ passwordadmin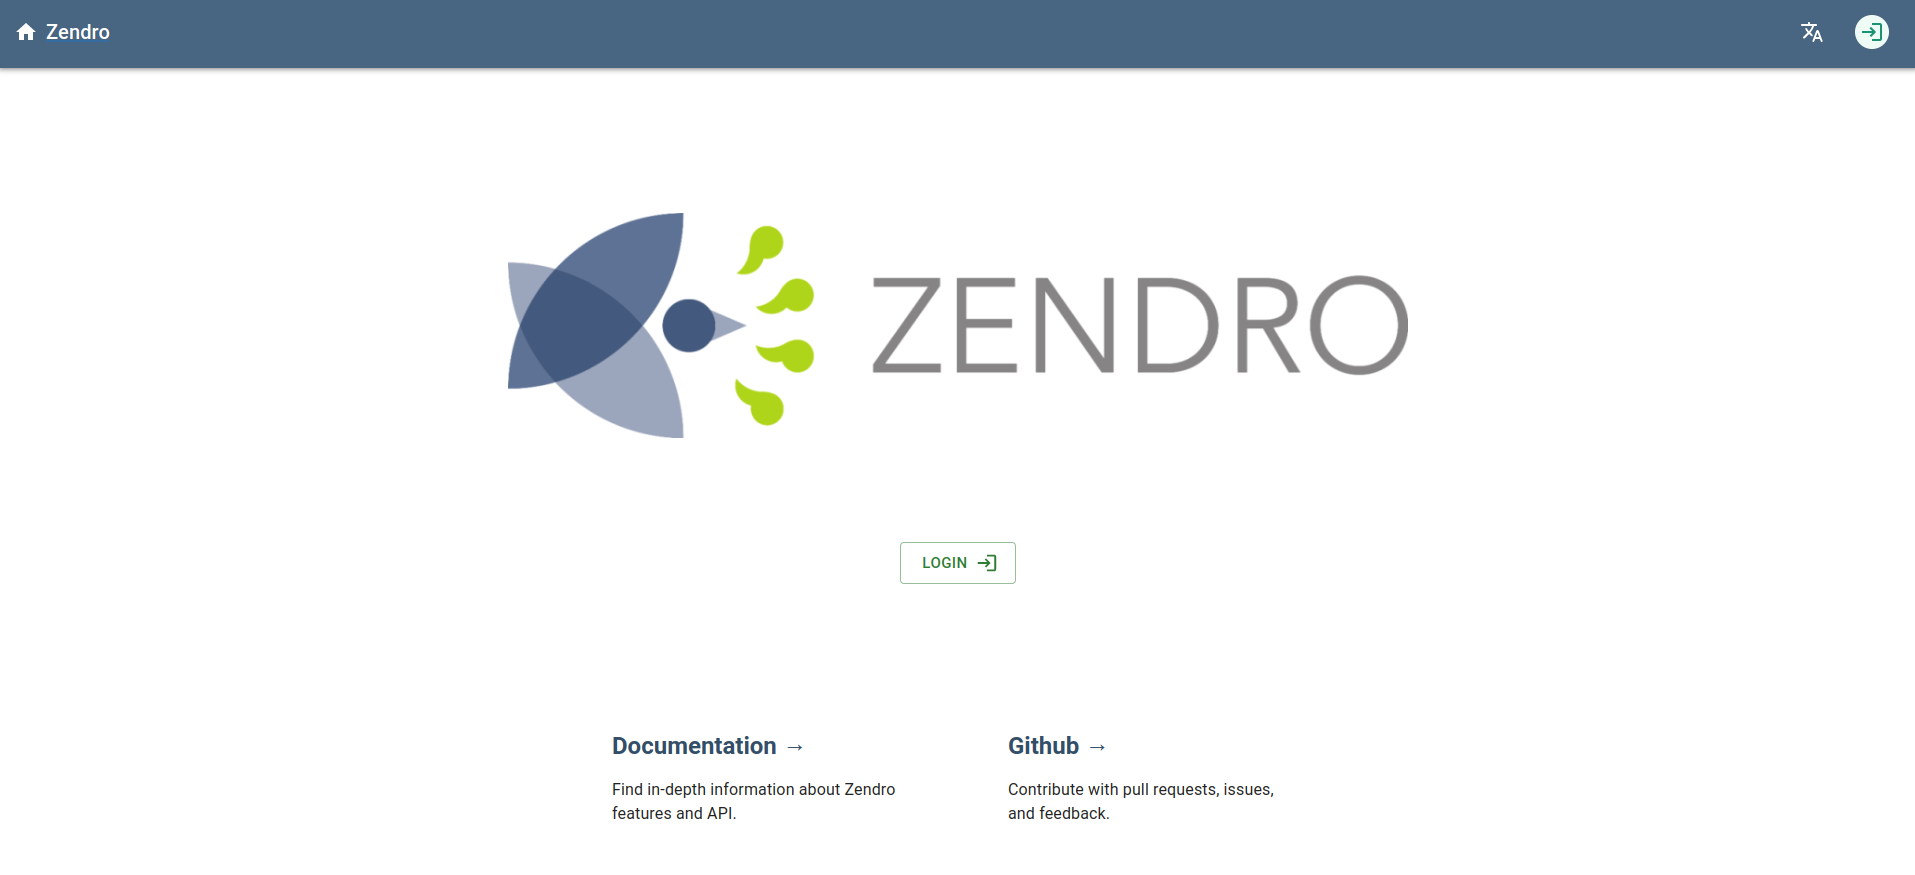
-
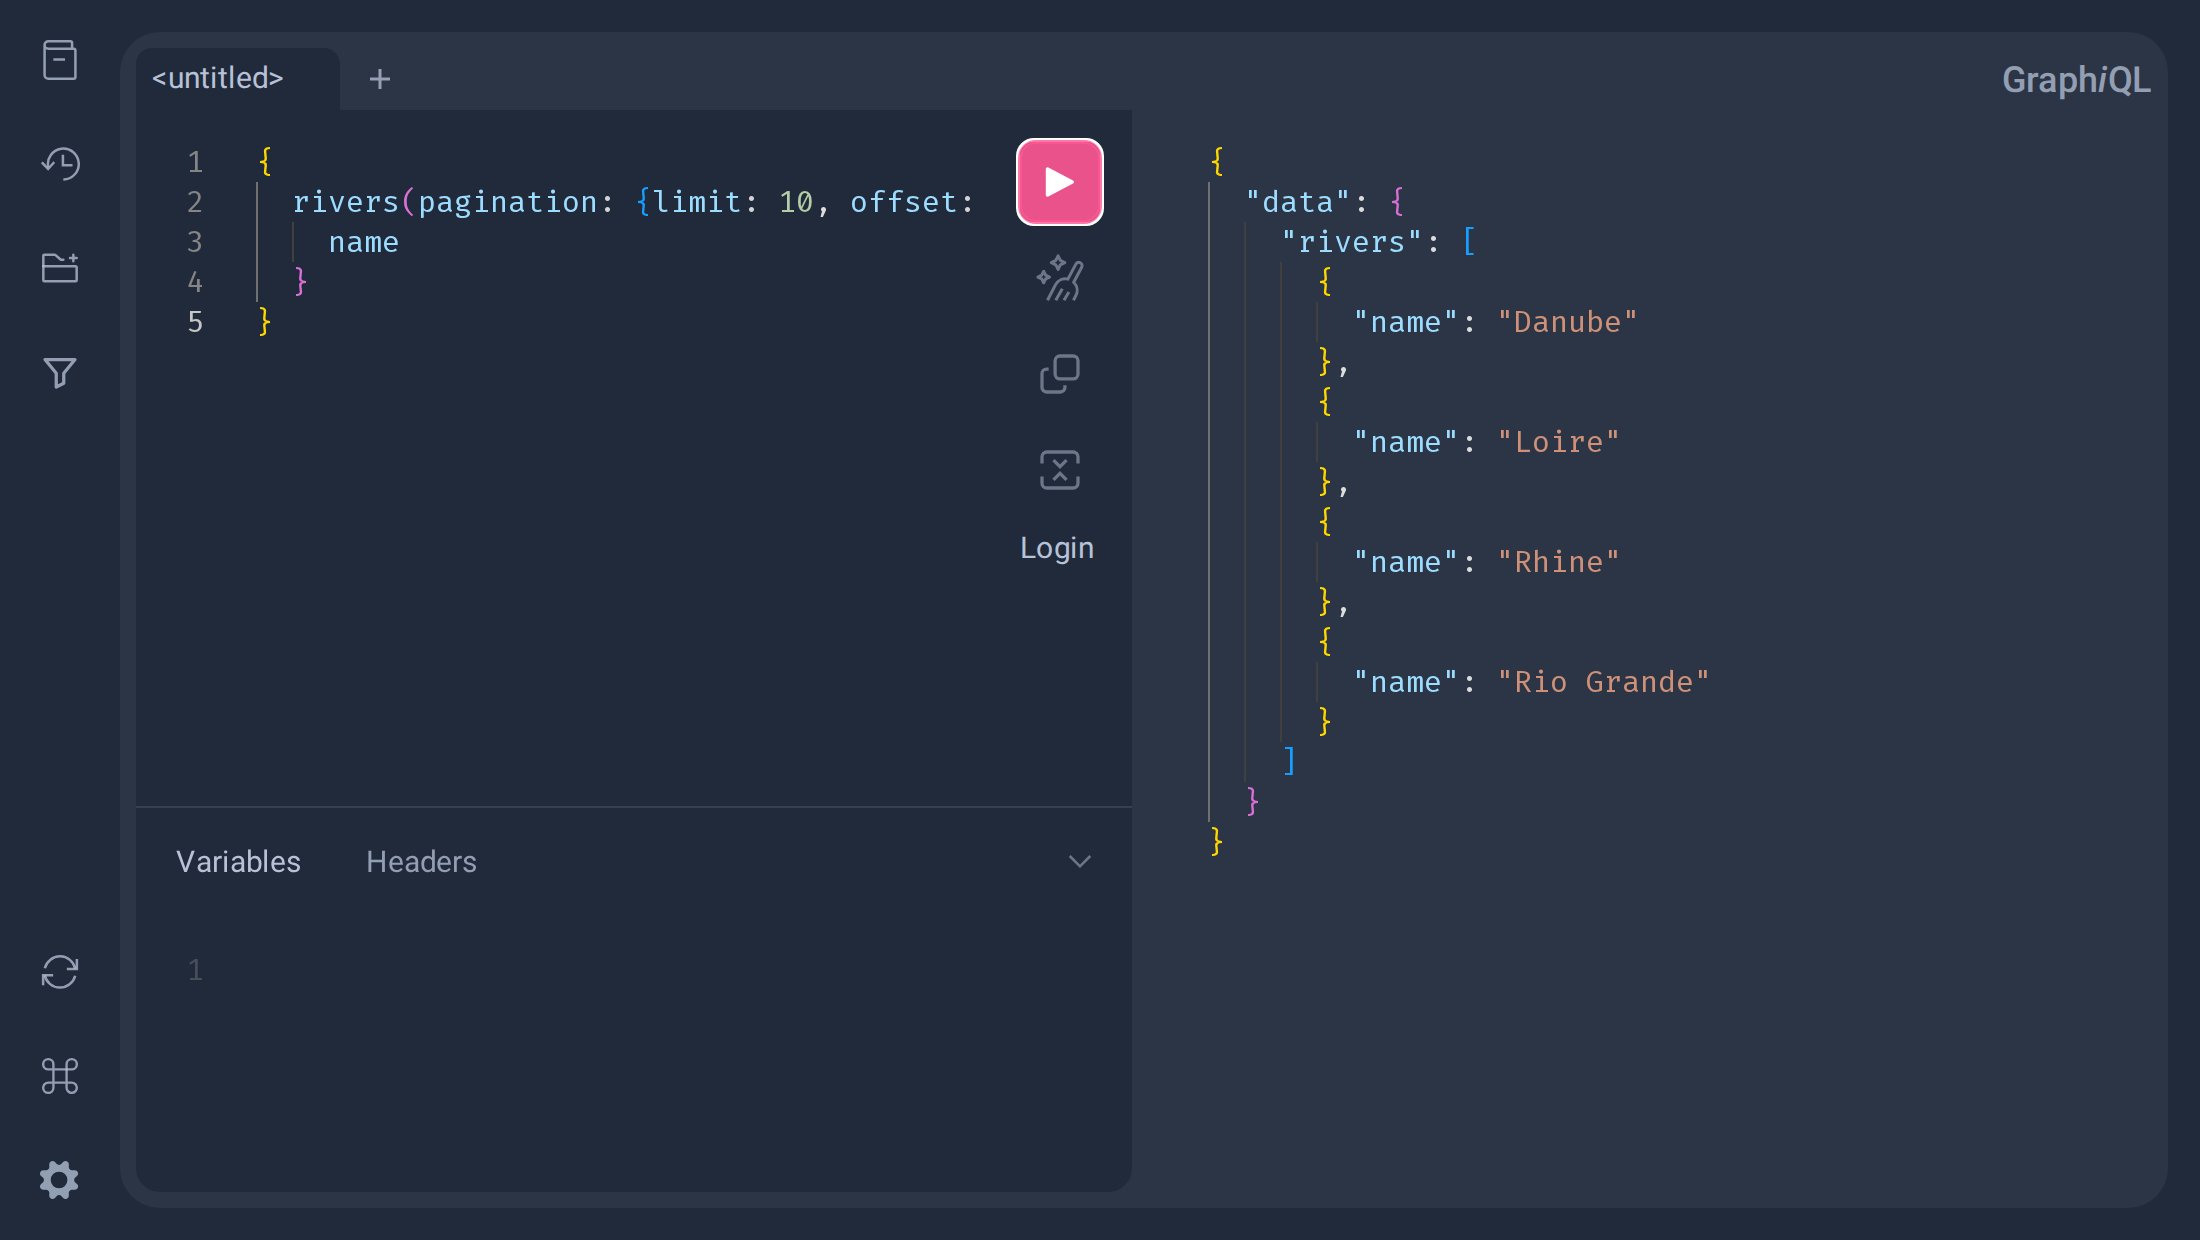
GraphQL API —
http://localhost:3000/graphql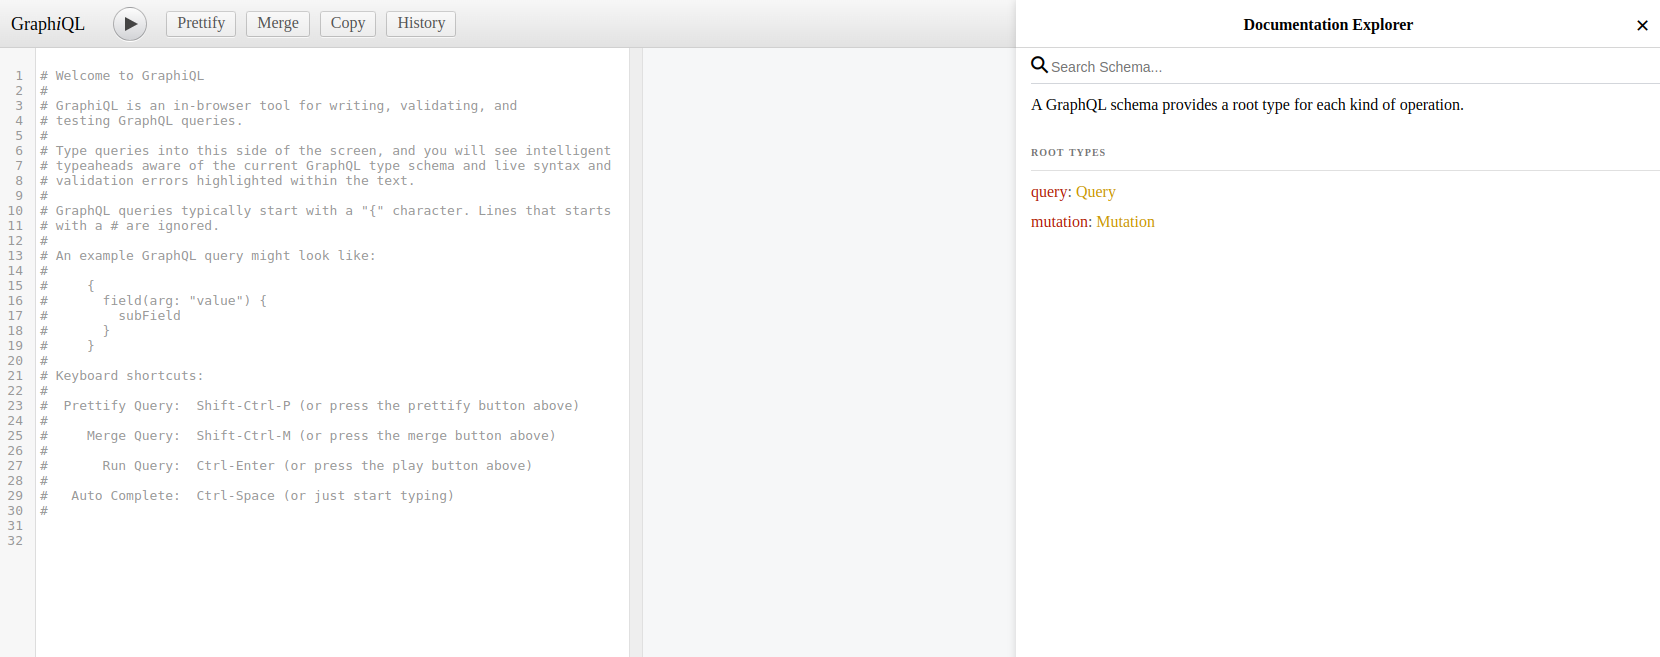
-
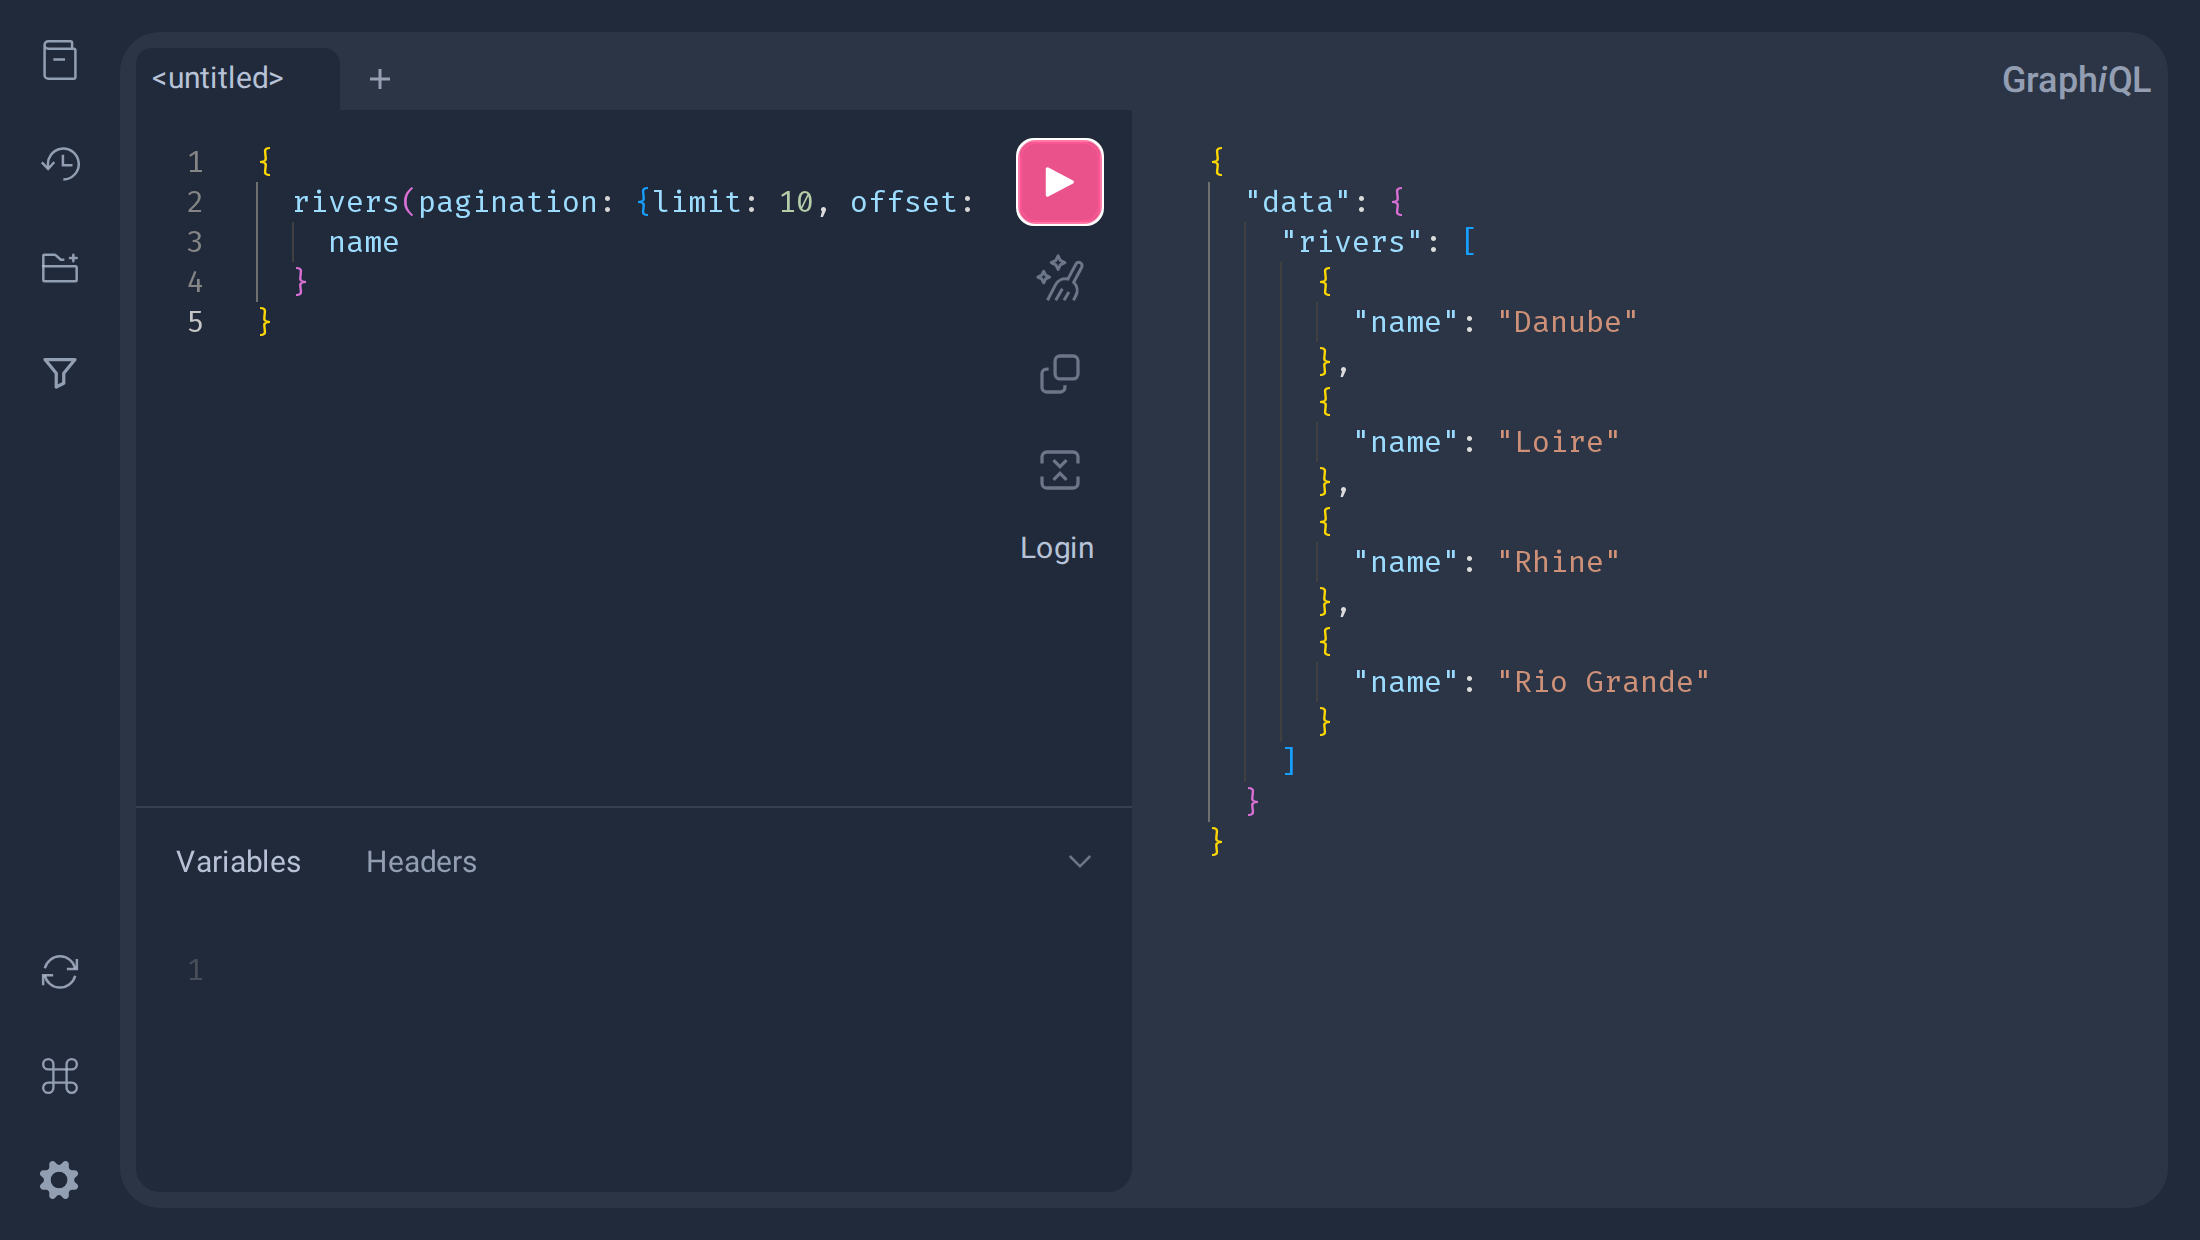
GraphiQL interface with filter functionality —
http://localhost:7070, default userzendro-admin/ passwordadmin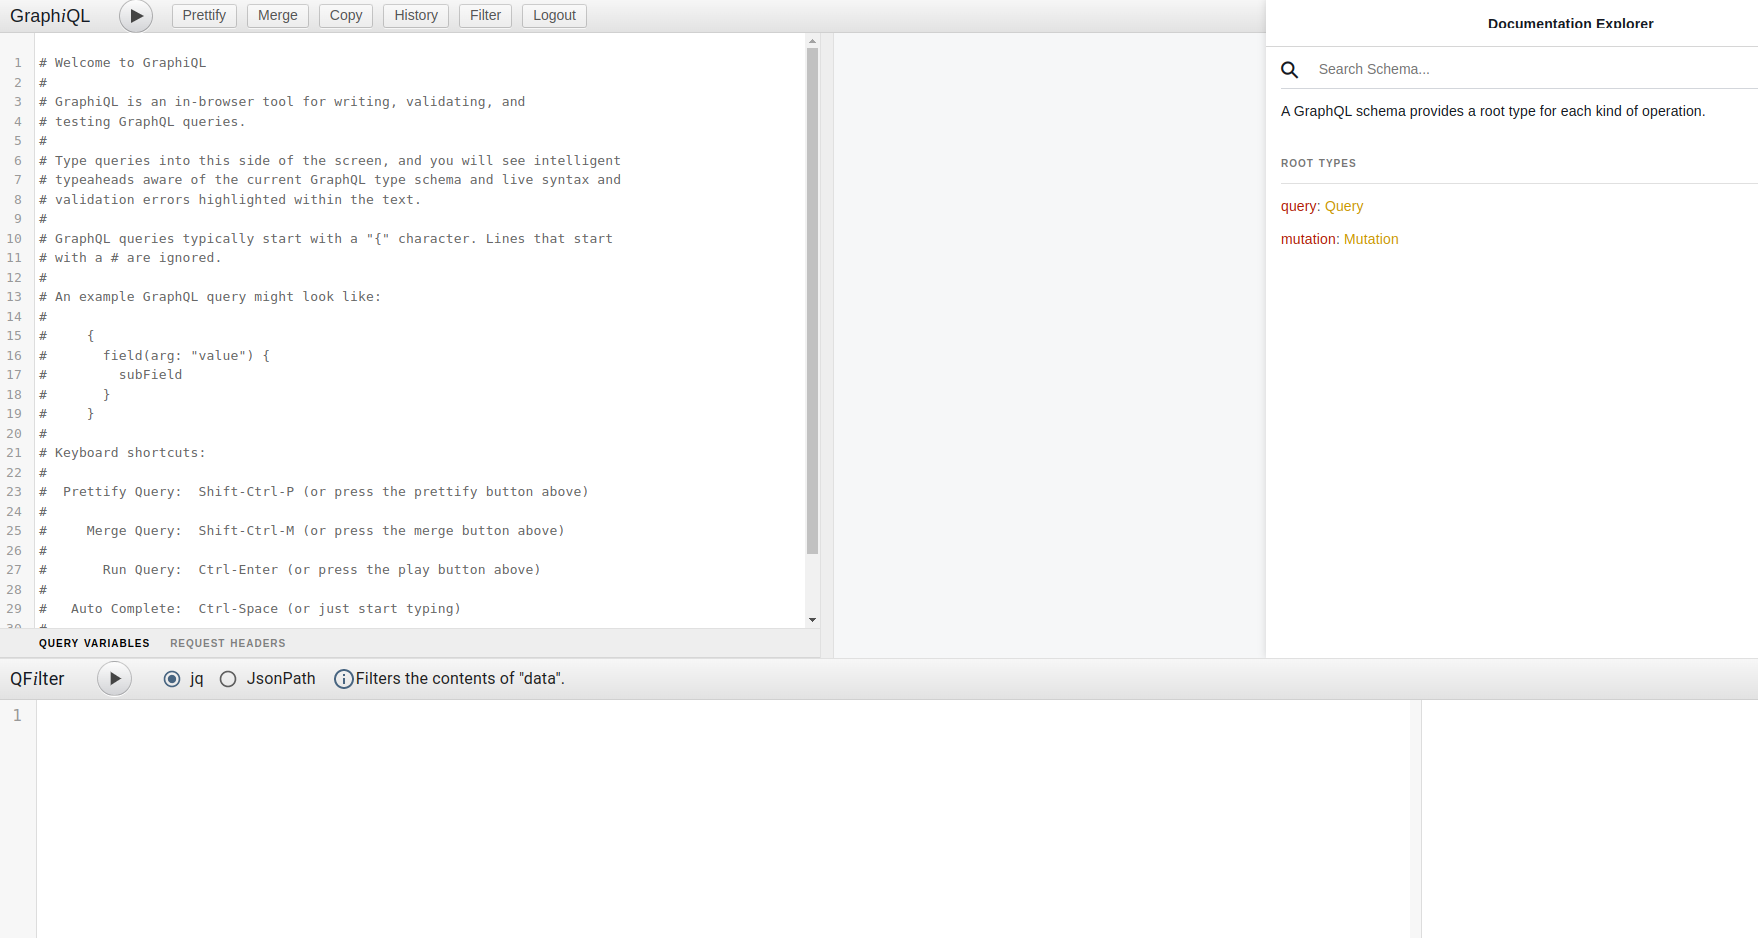
If you wish to modify the default ports, adjust the environment variables in the following files, then stop and start Zendro again:
./docker-compose-prod.yml./docker-compose-dev.yml./single-page-app/.env.production./single-page-app/.env.development./graphql-server/.env./graphiql-auth/.env
If you wish to rename the docker containers or services, adjust ./docker-compose-prod.yml and ./docker-compose-dev.yml the same way.
If you get a “mandatory OAuth2 variables are not being set” error in SPA or GraphiQL, run zendro dockerize -d -v to stop the services and then zendro dockerize -u to start them again. This happens because graphql-server needs to write the OAuth2 variables to the .env files before SPA and GraphiQL load, but they sometimes load faster than graphql-server.
➡ Without docker
If you prefer a local setup with Keycloak, there are a few extra things to do after running Zendro.
Requirements
- Install Java (Java 17 or later).
- Install Keycloak. Zendro works with Keycloak 26.7.0; it is recommended to try the latest version and fall back to 26.7.0 in case of breaking changes.
- Go to https://www.keycloak.org/downloads and download the Distribution powered by Quarkus.
- After unzipping, copy Zendro’s Keycloak configuration file — which
zendro newplaced at<my-project-name>/keycloak.conf— into your Keycloak install’sconf/folder:cp <my-project-name>/keycloak.conf keycloak/conf/keycloak.conf. It sets Keycloak’s port to 8081 and the/authpath prefix Zendro expects. -
Set two environment variables from a terminal inside the keycloak folder:
export KC_BOOTSTRAP_ADMIN_USERNAME=admin
export KC_BOOTSTRAP_ADMIN_PASSWORD=admin
Important: on Windows, if the
exportcommand doesn’t work, ignore this step — Keycloak will ask for the admin credentials when it starts in the web interface. - Start Keycloak in dev mode with
$ ./bin/kc.sh start-dev, run from the keycloak folder. - Go to
http://localhost:8081to see Keycloak running. Usernameadmin, passwordadmin. - The Zendro realm configuration is applied automatically when the migration file runs after Zendro starts.
Start Zendro
Development mode:
zendro start
Wait until the logs indicate the app is running on the expected port before accessing Zendro’s services.
With the default configuration, Zendro’s services will be on:
- API —
http://localhost:3000/graphql - GraphiQL —
http://localhost:7070 - Single Page App (SPA) —
http://localhost:8080 - Keycloak —
http://localhost:8081/
If you get a “mandatory OAuth2 variables are not being set” error in SPA or GraphiQL, run zendro stop and then zendro start again. This happens because graphql-server needs to write the OAuth2 variables to the .env files before SPA and GraphiQL load, but they may load faster than graphql-server.
Production mode:
zendro start -p
Same default ports as above.
Application logs can be found in ./logs/graphiql.log, ./logs/graphql-server.log and ./logs/single-page-app.log.
Important: if you have trouble connecting Zendro to the Keycloak service, try changing
http://localhost:8081tohttp://0.0.0.0:8081in the following .env files (remember dotfiles are usually hidden):
./single-page-app/.env.production./single-page-app/.env.development./graphiql-auth/.env./graphql-server/.env
Step 8: Start up Zendro with access control
Zendro can check access rights for every single GraphQL query, based on the currently logged-in user identified by the token. The user is decoded and the corresponding roles are loaded to check access rights. This step is carried out by the acl2 package, a maintained fork of the original (now unmaintained) acl package. The respective access rights can, and must, be declared in the file ./graphql-server/acl_rules.js.
You can run Zendro with or without this access control check. The default is to run it without checking access rights.
To switch the access rights check on, uncomment the commented-out //,'acl' line in ./graphql-server/startServer.js — there are two, one for development mode and one for production/start mode, so uncomment whichever one(s) match how you run Zendro.
You can also whitelist certain roles to own all user permissions, using the WHITELIST_ROLES environment variable. For example, to whitelist reading actions, add this to ./graphql-server/.env:
WHITELIST_ROLES="reader"
You can add as many roles as you wish, separated by commas.
Step 9: Stop Zendro instance
➡ Using docker
zendro dockerize -d -v
-v also removes all volumes. In production mode:
zendro dockerize -d -p -v
➡ Without docker
Production mode:
zendro stop -p
Development mode:
zendro stop
Customize your project (optional)
A couple of basic extensions are suggested to be introduced directly into the GraphQL server code: data validation logic and GraphQL query/mutation patches. Implementing custom logic for these requires some programming, but the process itself is well confined and described. The whole codebase used to run Zendro — both the graphql-server and the frontend applications — is also exposed and can be directly customized if needed.
Add empty or default plots (optional)
Empty or default plots can be generated via the Zendro CLI — see the Plots section of the CLI reference.
Need to update or uninstall Zendro afterwards? See Installation and the Zendro CLI.